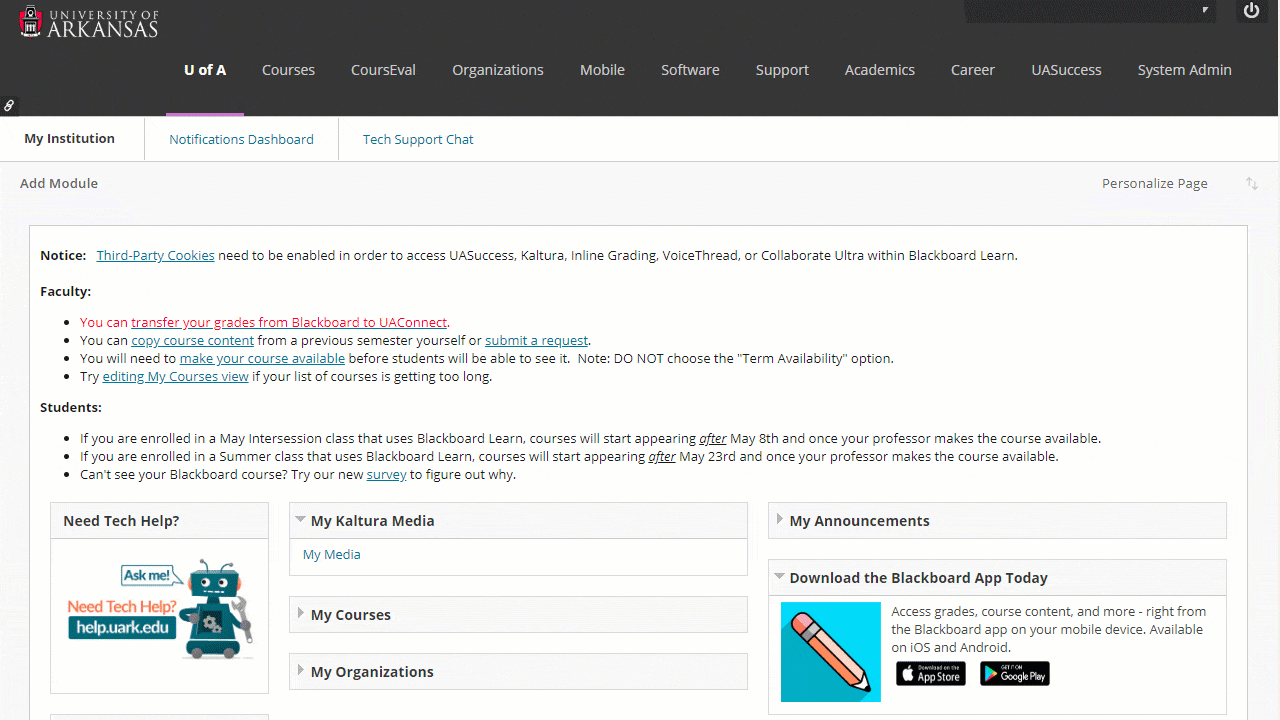
Kaltura has a native media editor online called Kaltura Editor. The Editor is great for creating a clip from a longer video, trimming the beginning or ending or a recording, or deleting an interruption in the middle of the recording.
Kaltura Editor is a lite media editor. It is advised to use a different software if detailed editing is desired or needed. Currently, IT Services offers free licenses to faculty and staff of Adobe Creative Cloud for University-owned devices. This software package includes video editing software Premiere Pro and After Effects. There is also an easier video editor called Adobe Rush. Additionally, faculty, staff, and students can purchase a reduced-cost year-long subscription of Adobe Creative Cloud at uark.onthehub.com for personal devices.
Contents
Launching the Editor
VERY IMPORTANT: You must be the owner or collaborator of the media to edit it using the Kaltura Editor.
- Go to My Media either in Blackboard or video.uark.edu.
- Click the video entry’s edit button (pencil icon).
- Click Launch Editor.
- Select Video Editor icon (
 ) on the left most panel.

Alternatively:
- In My Media, click on the video’s title or its thumbnail.
- Click Actions.
- Select Launch Editor.
Editor’s Interface Overview
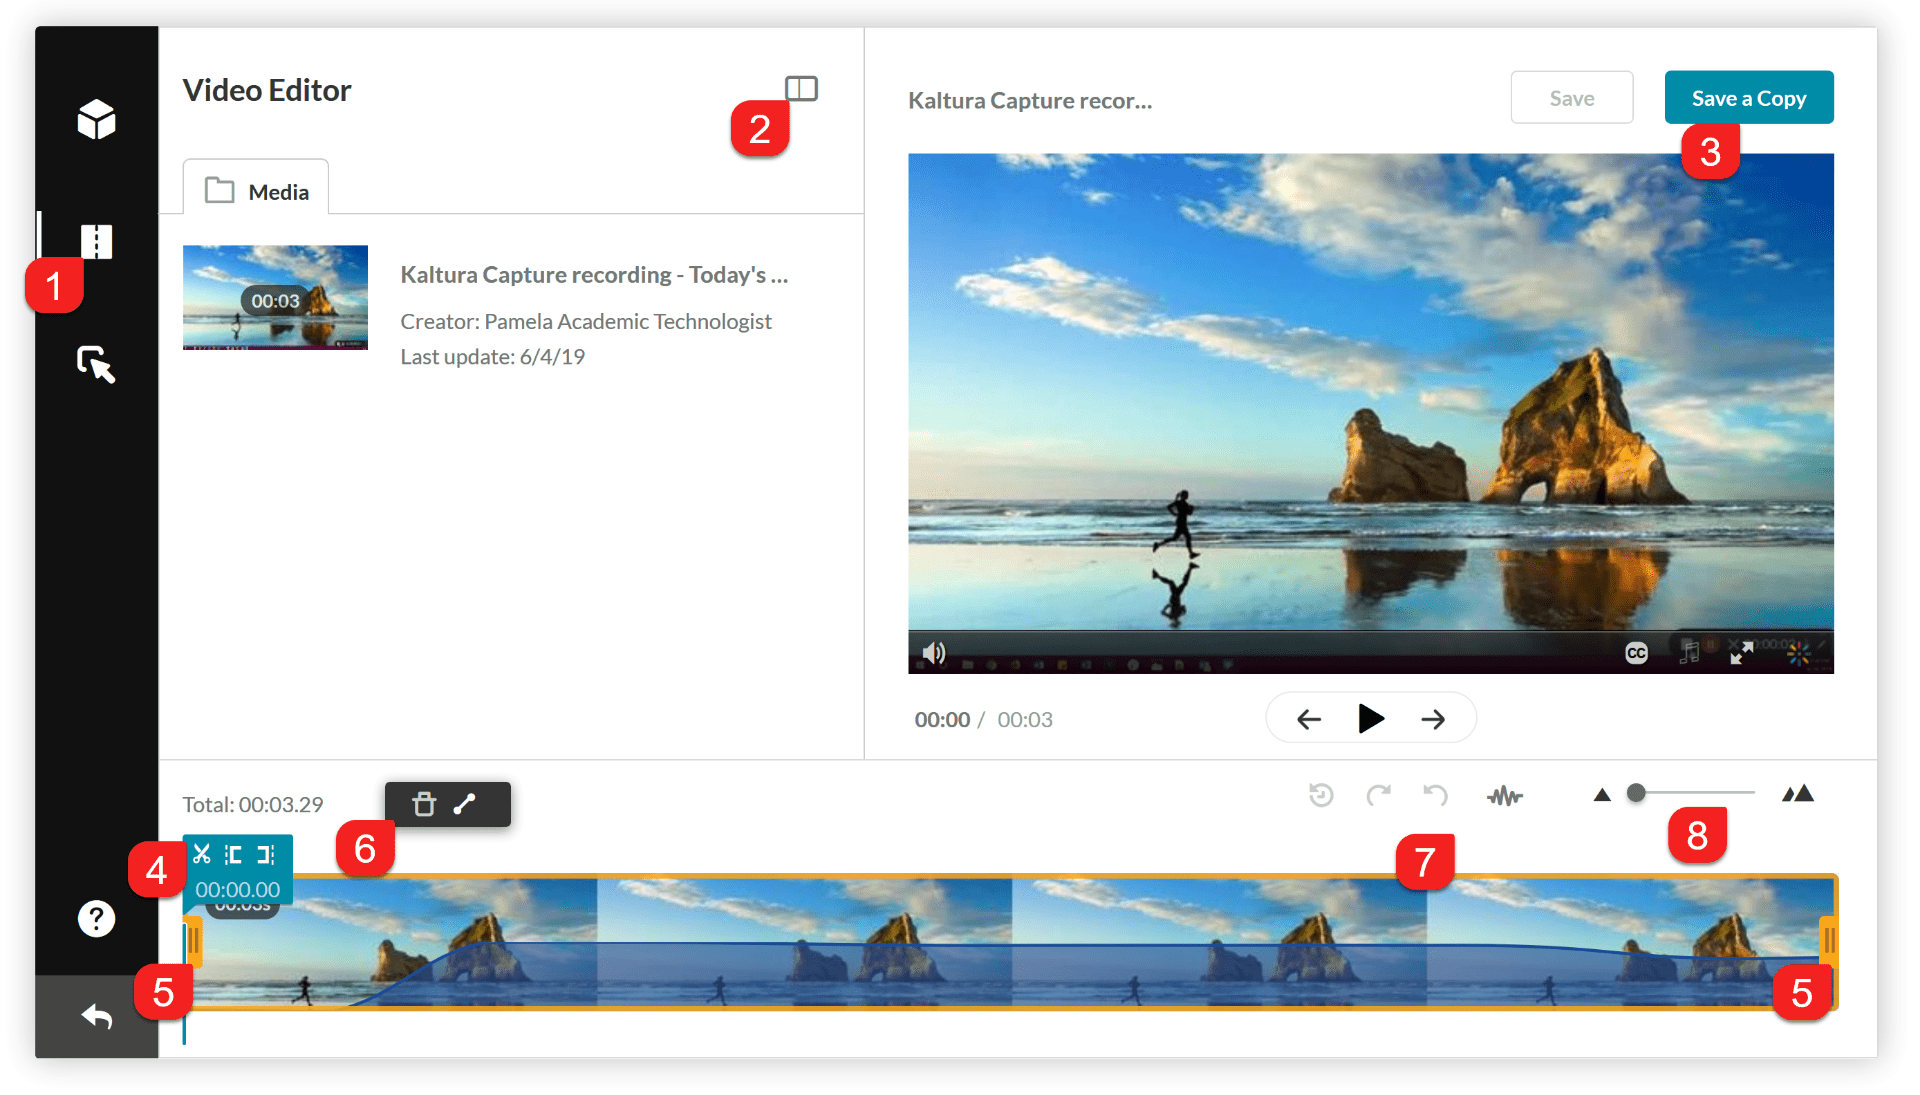
The interface has three main panes. Left pane displays the media’s details (title, creator, last modification date). Right pane is the preview window, and where the Save a Copy button is located. The bottom pane is the timeline. This pane is where the editing will occur.
- Video Editor Selector
- Collapse button for the media details (left) pane
- Save a Copy button
- Real Time Marker– Indicates the timeline location of the scene being played in the player (right pane). On the Real Time Marker there are three tools:
 Split
Split Set In
 Set Out
- Handlebars– The yellow indicators at each end of the video used to select a range of the video
- Delete Icon and Fade In/Out icon
- Editing Interaction Icons (left to right);
 Reset
Reset Redo
Redo Undo
Undo Select Audio
- Zoom In/Out of the timeline
Trim / Clip
Definitions: Trimming is editing the original video to a new beginning or ending point by clicking Save. Clipping is creating a copy of a video with a new beginning or ending point by clicking Save a Copy.
Directions
- Set a Range. (Methods are listed below.)
-
- Click Save to trim, which will alter original source media permanently, or
- Click Save a Copy to clip, which will make a copy with the modifications set.
Setting a Range
There are multiple ways to set a range:
- Drag the handlebars to the start or end points. (This can also be done instead of clicking the Set In / Set Out icons for the alternatives listed below.)
- Pause the video, at either start or end, and click the Set In icon to select the start of the range, and Set Out icon to select the end of the range.
- Drag the Real Time Marker to start or end, and click either Set In or Set Out icon.
- In the player, type in a time, and select the Set In or Set Out icon.

Chop / Splice
VERY IMPORTANT: The timeline will always reflect the timespan of the original copy. After video editing, white gaps may show on the timeline where chopping, trimming, or clipping occurred. This does not indicate pauses in the edited copy, but it does indicate where you could extend play time if you desire.
Chop is when you cut out a section of a video, and Splice is when the remaining video is joined together. Kaltura automatically splices video after chopping; you do not need to move cut video segments together for continuous play.
Directions
There are two good ways to chop a video:
- Split the video into segments by clicking the Scissors icon in the Real Time Marker.
- Then, deleted unwanted segments.
Alternatively,
- Split the video by clicking the Scissors icon in the Real Time Marker.
- Then, use the Real Time Marker or the yellow handlebars to set the beginning and ending of a segment.
