Are you new to Collaborate? The first thing you need to do when using Collaborate is to enable the tool. This will walk you through setting up Collaborate.
Blackboard Learn Ultra
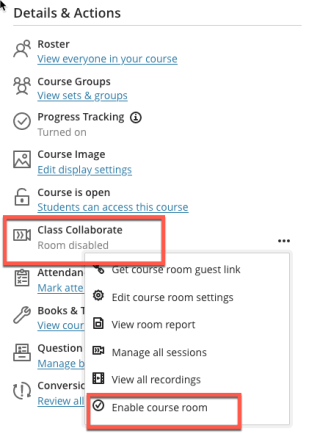
To use Collaborate in Blackboard Learn Ultra you need to make sure the course room is enabled.
- Navigate to your Blackboard Learn Ultra course.
- In Details & Actions if the course room is disabled click on the three dots to the right of Class Collaborate and click Enable Course. Room
Once the course room is enabled you can use the Course Room or Click Manage All Sessions to create specific session dates & times.
You can now start scheduling sessions!
Blackboard Learn Original
To use Collaborate in Blackboard Learn Original you should add a link to Collaborate in your course content menu.
- Enter your course and in the main menu on the left click the + button.

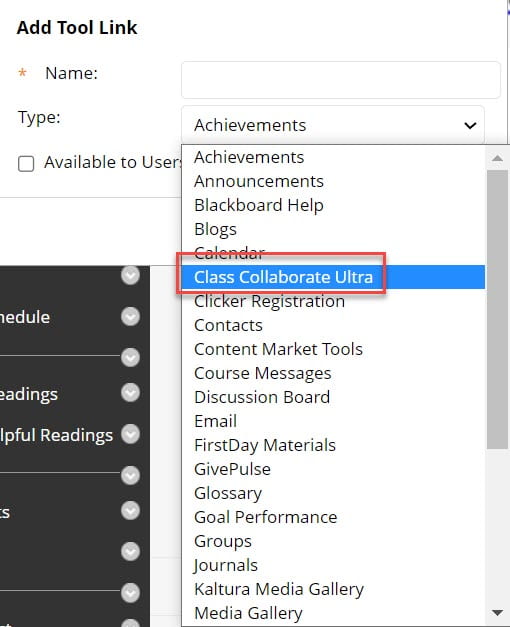
- Click Tool Link.

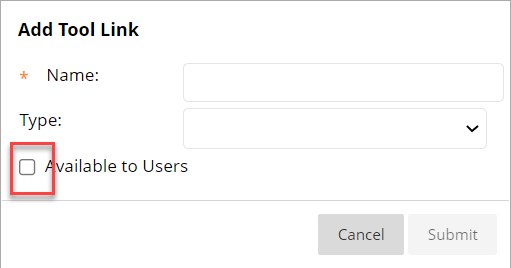
- Name your content area. We recommend naming it “Collaborate” (or something similar) so that students can easily find and access the tool.
- Click on the drop-down menu, select Blackboard Collaborate from the options.
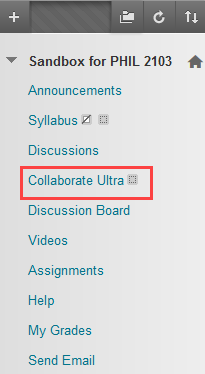
- Check the box to make the content Available to Users.

- Click on the content area you created.
- You will get a black screen with a purple circle. This lets you know Collaborate is loading.
- You will then be directed to the Session list.
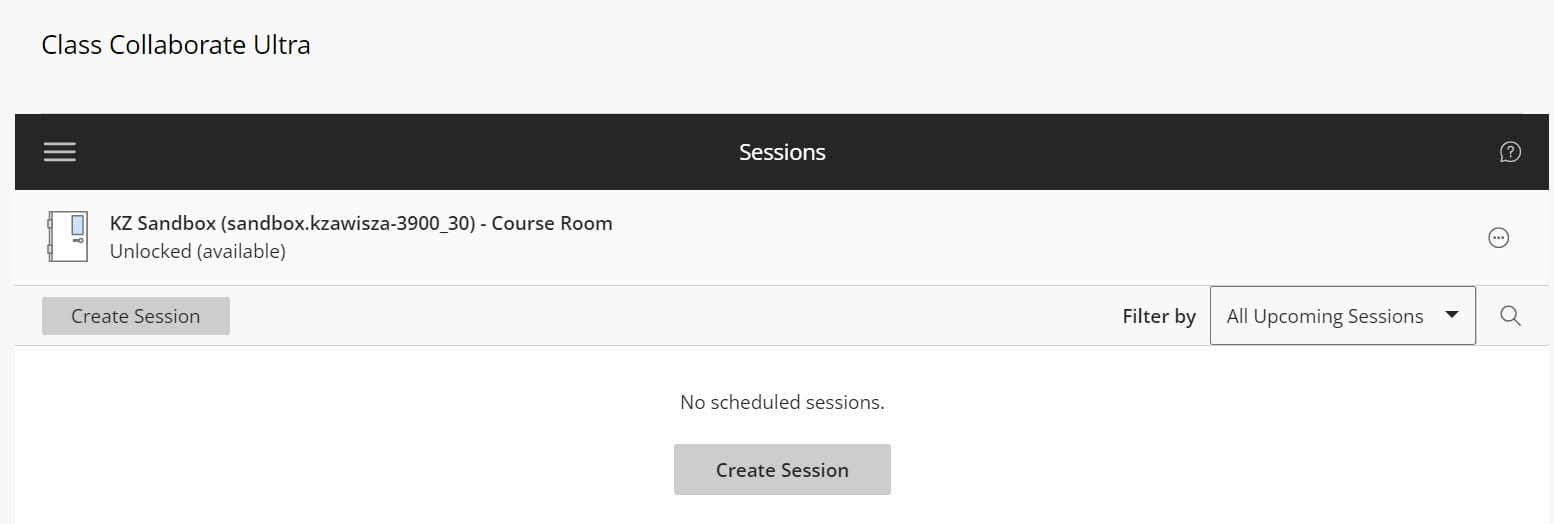
You can now start scheduling sessions!