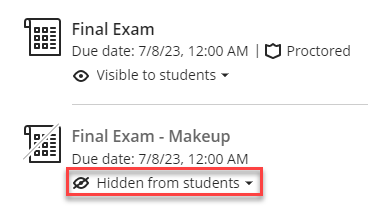
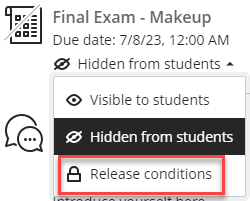
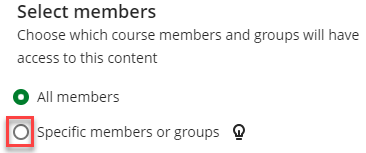
Sometimes it’s necessary to have special rules for a single student or group of students who are taking a test. This article will tell you how to set up Conditional Availability so that just one student can see a copy of the test.
NOTE: The steps below are for when you may need to duplicate an exam for make-up exams that are using a separate online proctoring method.
Duplicate Test/Exam
- In the content area of your Blackboard Ultra course where you would like the Duplicate to live, click the plus sign (+) to add new content.

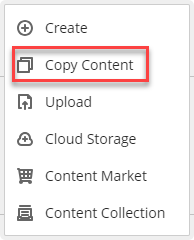
- Click on Copy Content.
- Copy your Course ID from where it is listed above into the search field.
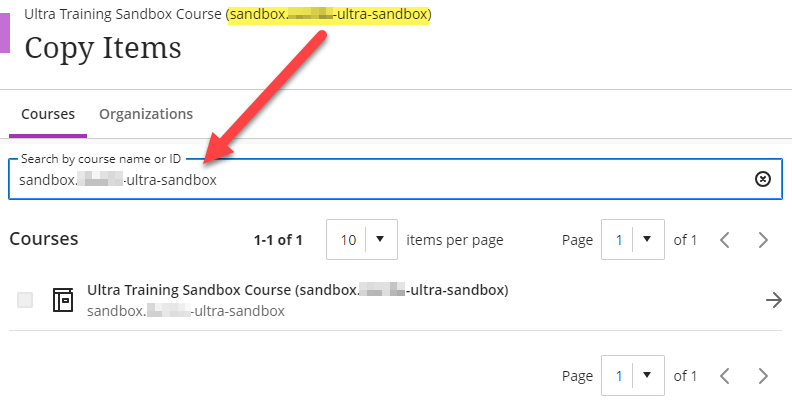
- Click on your course just below where it should appear in the results.
- Click on Content then navigate to where your exam is hosted by clicking on the appropriate folders.
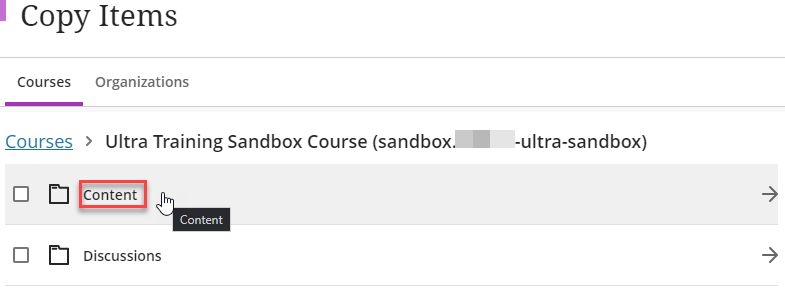
- Click on the box to the left of your Exam/Test to be copied.

- Click on Start Copy.

Remove Respondus from Test Settings and add Access code
- Click on the Duplicated test. Edit the title of the new exam to make it easier to find the name in the Respondus Monitor Dashboard.

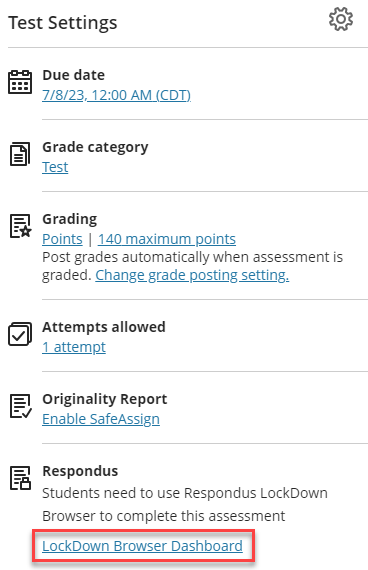
- Click on LockDown Browser Dashboard.
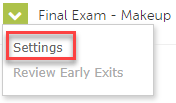
- Click on the down arrow to the left of the duplicate test/exam.

- Click on Settings.
- Click on the bubble button to the left of Don’t require Respondus LockDown Browser for this exam.
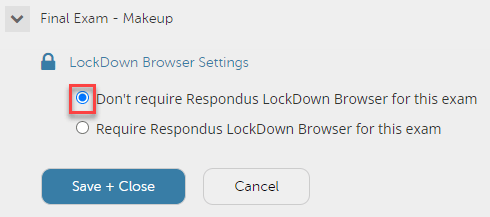
- Click on Save + Close.
- Go back to the test/exam and click on the gear icon to edit test settings.
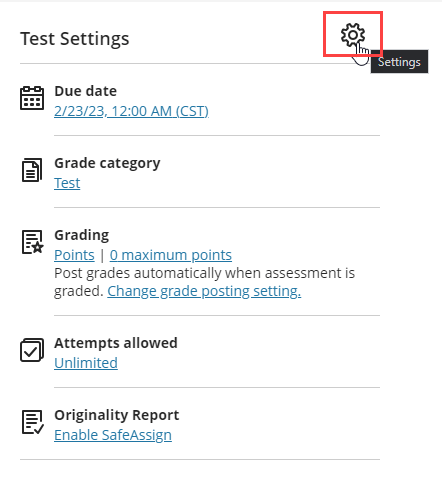
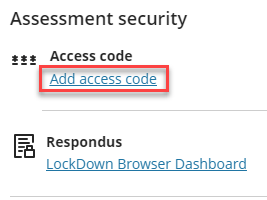
- Find and click on Add access code.
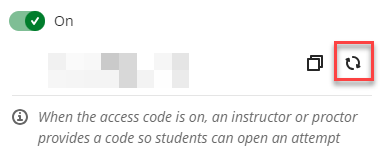
- Click the check to the left of the word Off to turn in On
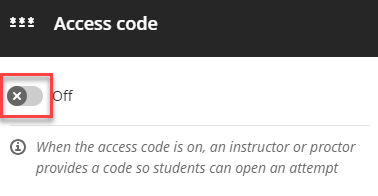
HINT: It will automatically generate the code. You may click to refresh the code if you would like it to generate a new one.
- Click on Continue and then click on Save.
