
You can have students easily collaborate with one another by adding a Microsoft OneNote Class Notebook to your Blackboard course.
This allows students to add content, work on materials, and give feedback to each other in real-time. All students have access to edit the notebook, making this a great collaborative space for in-class assignments and group projects.
To Add a OneNote Class Notebook
- Open your Blackboard Learn Ultra course.
- Browse to the content area where you want to include the OneNote Notebook.
- Click on the plus (+) sign.

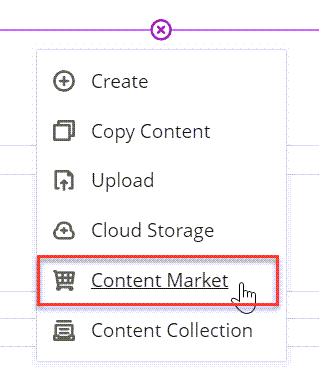
- Click Content Market.
- Click on the plus (+) sign in the corner of the box OneNote Class Notebook.

- Click on the link you just created in your content area.
- Click Sign in to OneNote.
- You may be prompted to sign in. Sign in with your UARK email and password.
- Type a name for the notebook.

- Click Next.
- Read the next screen and click Next.
- You can add a co-instructor or TA. Click Next.

- Select Automatically add students from your LMS as they access this notebook.
- Click Next.
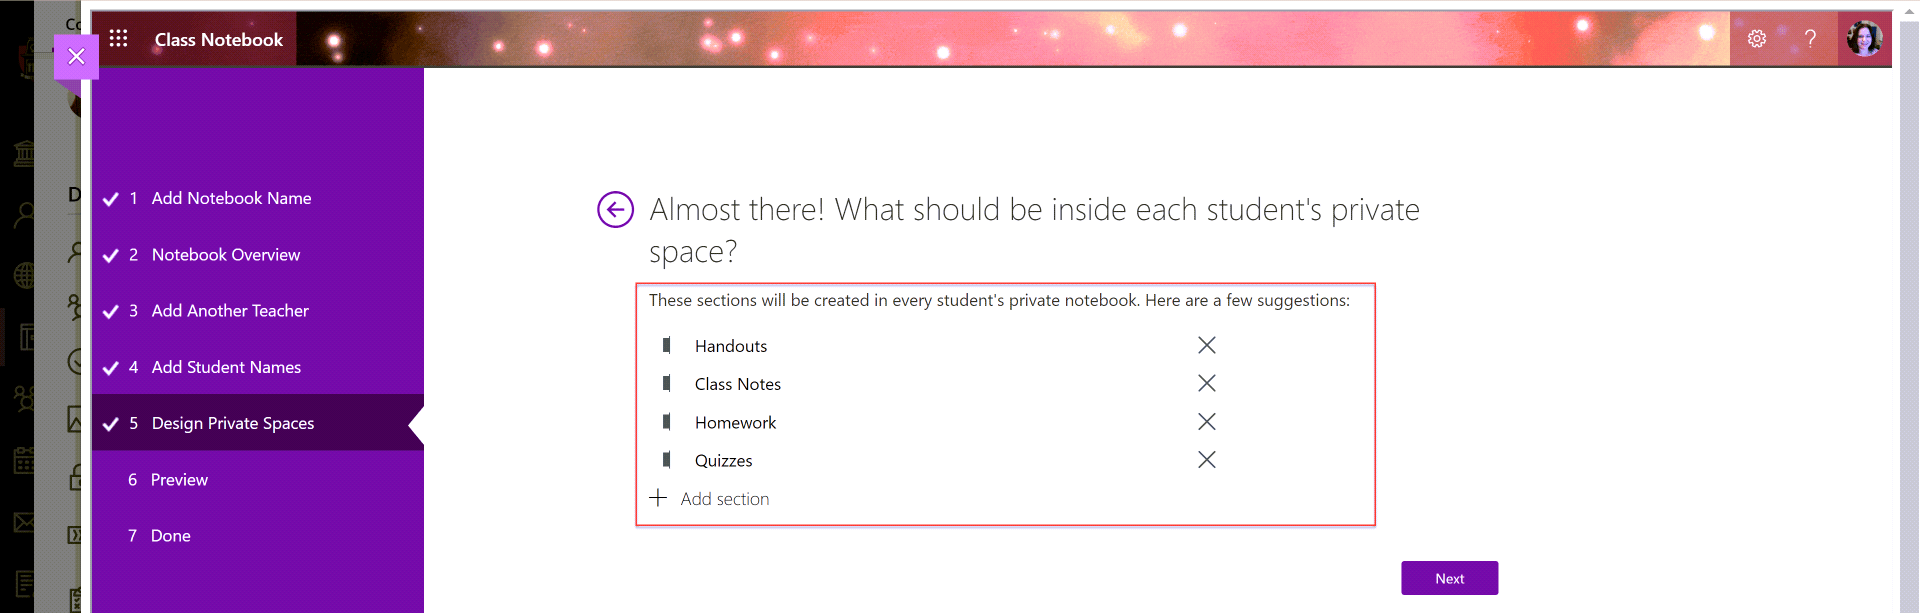
- Students will also be given a private notebook (not shared with others). You can select what sub-sections it contains. Click Next when finished.
- You can preview the Class Notebook and then click Publish when finished.

To use and open the Class NoteBook
- Click on the link in your content area.
- Click the link that says Open Your Class Notebook.

- You can then add content. See this Post from Microsoft for ideas and details!