
Zoom has been integrated with Blackboard to create an easy experience for both instructors and students. This article explains how to set up Zoom in your class from start to finish – from connecting Zoom to your course to adding your course recordings to your course.
With the Zoom integration in Blackboard, you can not only set up sessions easily in Blackboard, but you can connect your recordings to your course as well. The instructions below outline how to set up Zoom in your course and how to connect the recordings to Blackboard.
Step 1: Linking Zoom to Blackboard
The first step to integrating Zoom is setting up the tool link in Blackboard.
- Open your Blackboard Learn Ultra course.
- Browse to the area in the course where you want the link to appear.
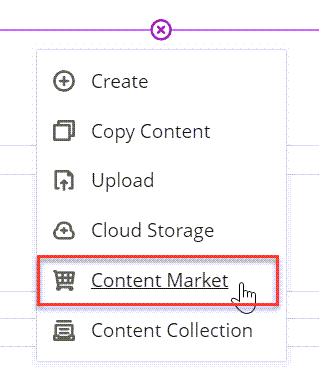
- Click the plus (+) sign to add content.

- Click Content Market.
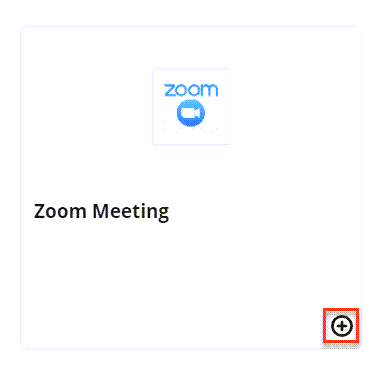
- Click the plus sign next to Zoom Meeting.
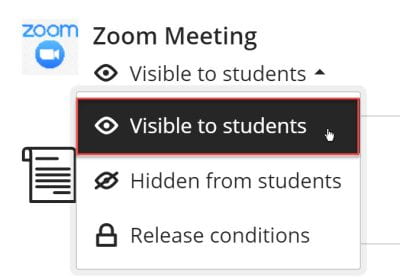
- Be sure to remember to make the tool visible.

Note: You will not be able to test this link with Student Preview in Blackboard. As long as the link works with your instructor account and is not hidden, then your students will be able to see it.
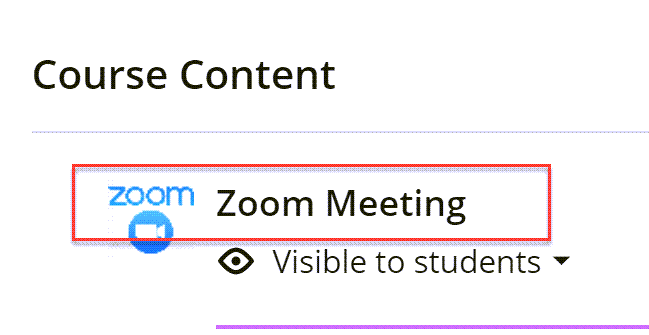
You now have your link set up in your course!
Step 2: Changing Your Overall Zoom Settings
In order to enable the waiting room and allow other options for your sessions, you should edit your global settings in Zoom.
- Go to uark.zoom.us
- Click Sign In to configure your account. Log in using your UARK username and password.
- Click Settings in the left menu.
- Look through the settings to see what you would like to apply to your overall meeting settings. Some recommended settings to reveiw are:
In the “meeting” settings
- “Waiting Room” – Do you want to enable a waiting room which requires you to admit students? Note that if students join late you will need to continually admit them. You can also turn this off during the session once it starts.
- “Only authenticated users can join meetings” – Enabling this means that only those who sign in with their UARK accounts can access the meetings. This is good for security and prevents Zoom-bombing. However, if you have a guest speaker, you will want to disable this so that they can join.
- The various chat features – read these to see what you want participants to be able to do.
- “Co-host” – this allows you to add co-hosts. This is good if you have more than one instructor or a TA who will need host controls.
- “Polling” – if you want to use the polling feature, you will want to enable it globally.
- “Screen sharing” – you can set who can share their screens and who cannot.
- “Annotation” – you can set who can annotate.
- “Whiteboard” – you can choose to save the whiteboard that is used during class.
- “Virtual Background”- allows participants to use images in their background.
In the “recording” settings:
- Automatic Recording – set it so that the meetings begin recording as soon as you start the meeting.
Step 3: Setting up Sessions
To create a Zoom session in Blackboard
- Open your Blackboard Ultra course.
- Browse to the location in your course where you added the Zoom link.
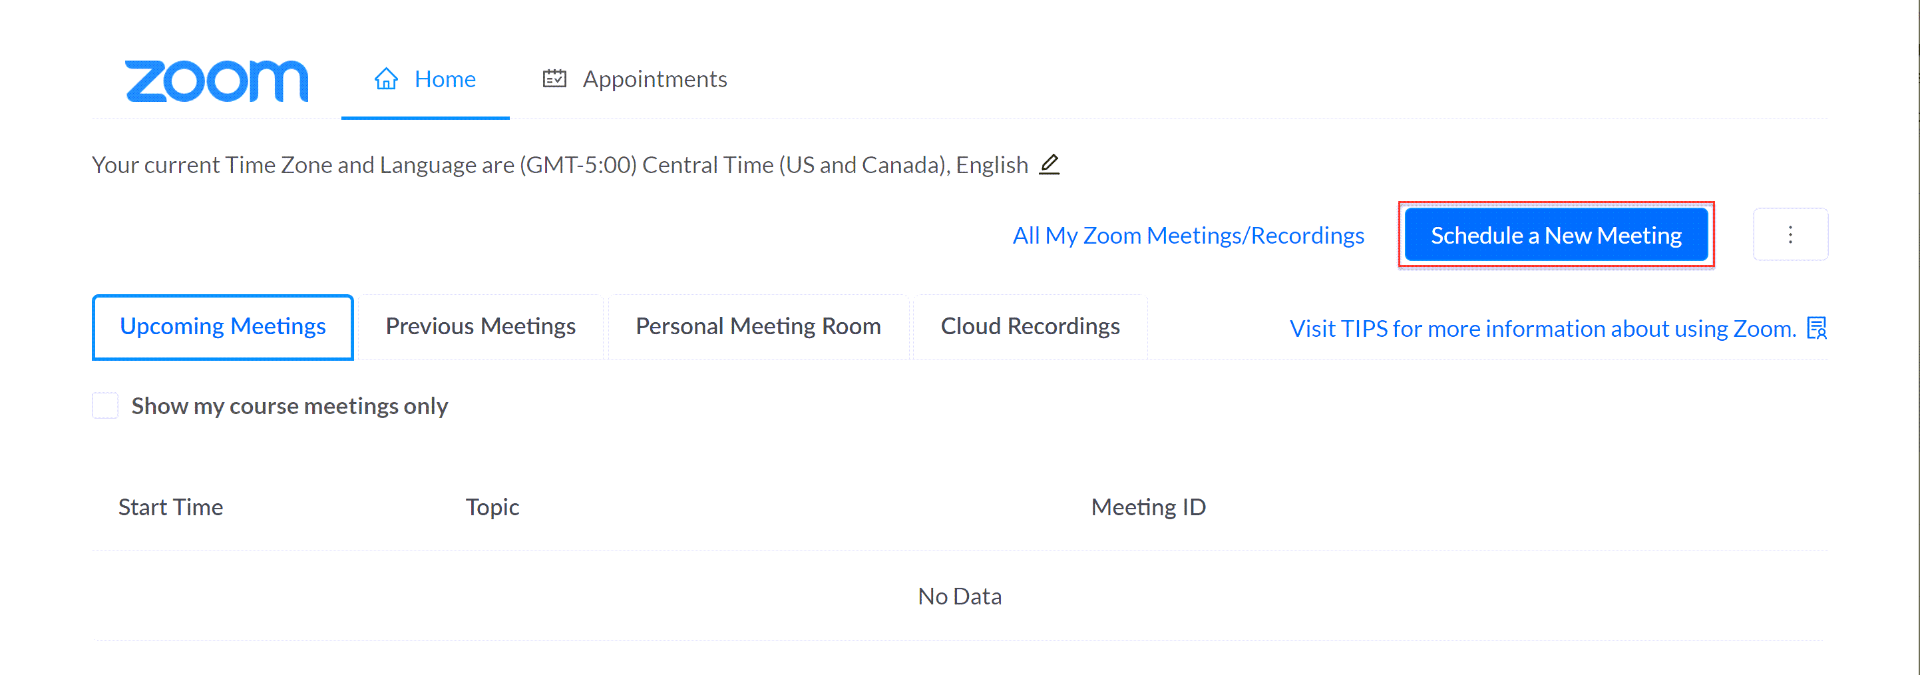
- Click Zoom Meeting.
- Click Schedule a New Meeting in the top right.
- Enter your desired class settings and click Save at the bottom.
- For recurring meetings, select the check box.
- In those settings select “Recurrence” to be weekly.
- Select the days on which your class meets.
- Select By and choose the end date. Note: It is better to choose end dates than occurrences. Occurrences are limited. If you choose the end date instead it allows more meetings. You don’t need both set just one.
- Set the duration of your class. Note: The drop-down includes increments of 15 minutes, but if you need a specific time you can click on the box for minutes and type a specific number there.
- IMPORTANT: Be sure to select “Record the Meeting Automatically” and “In the Cloud” to send recordings to Kaltura automatically.
-
Students will click the Zoom link in your course in order to find and join their sessions.
You now have your meetings set up!
Recommended Zoom Settings: How to Prevent Zoom Bombing
For “Only Authenticated Users can join ” select “Sign into Zoom with UARK Account.”
This setting means that only individuals with UARK accounts can log in to your class session and their accounts are verified through single sign-on. This is the best way to protect your class from unauthorized users entering your class. And if a UARK user that is not a member of your class joins, we have a record of who it was.
You can always edit this setting to allow guest speakers, etc. to join your class but be sure to edit the individual class session, not all sessions, and be sure to tell the guest that they will need a Zoom account to log in. Keep in mind that this means that anyone with a Zoom account can join if they have the link and passcode.
Add a Waiting Room
One way to ensure you know who is attending your sessions is to enable a waiting room. This allows you to see who wants to attend and admit them. If they have a suspicious name, you can refuse them admittance. Keep in mind: you will need to admit students to the session and in some cases, students may be late due to tech issues. If you do not see that someone is in the waiting room, they may get stuck there. However, it does add security for your sessions and we recommend you consider turning the waiting room on.
Turn off “enable join before host”
This ensures that you are the first person in the room and that students do not enter before you. This can prevent inappropriate behavior that is unobserved by you (and is recorded on the cloud recording). This also prevents the students from triggering the recording and those videos going to your cloud recordings. Several of you have noticed that and this prevents that from happening too!
How do I check my Zoom settings for already created meetings?
To check your Zoom settings, log in to Blackboard, and click on the link to your session. Review your settings. If you need to change any settings, scroll to the bottom and select “edit session.” You can also do this from uark.zoom.us.
Optional: How to Edit an Existing Session
Option 1:
- In your course on Blackboard Ultra, click on the Zoom link.
- Click on the meeting link.
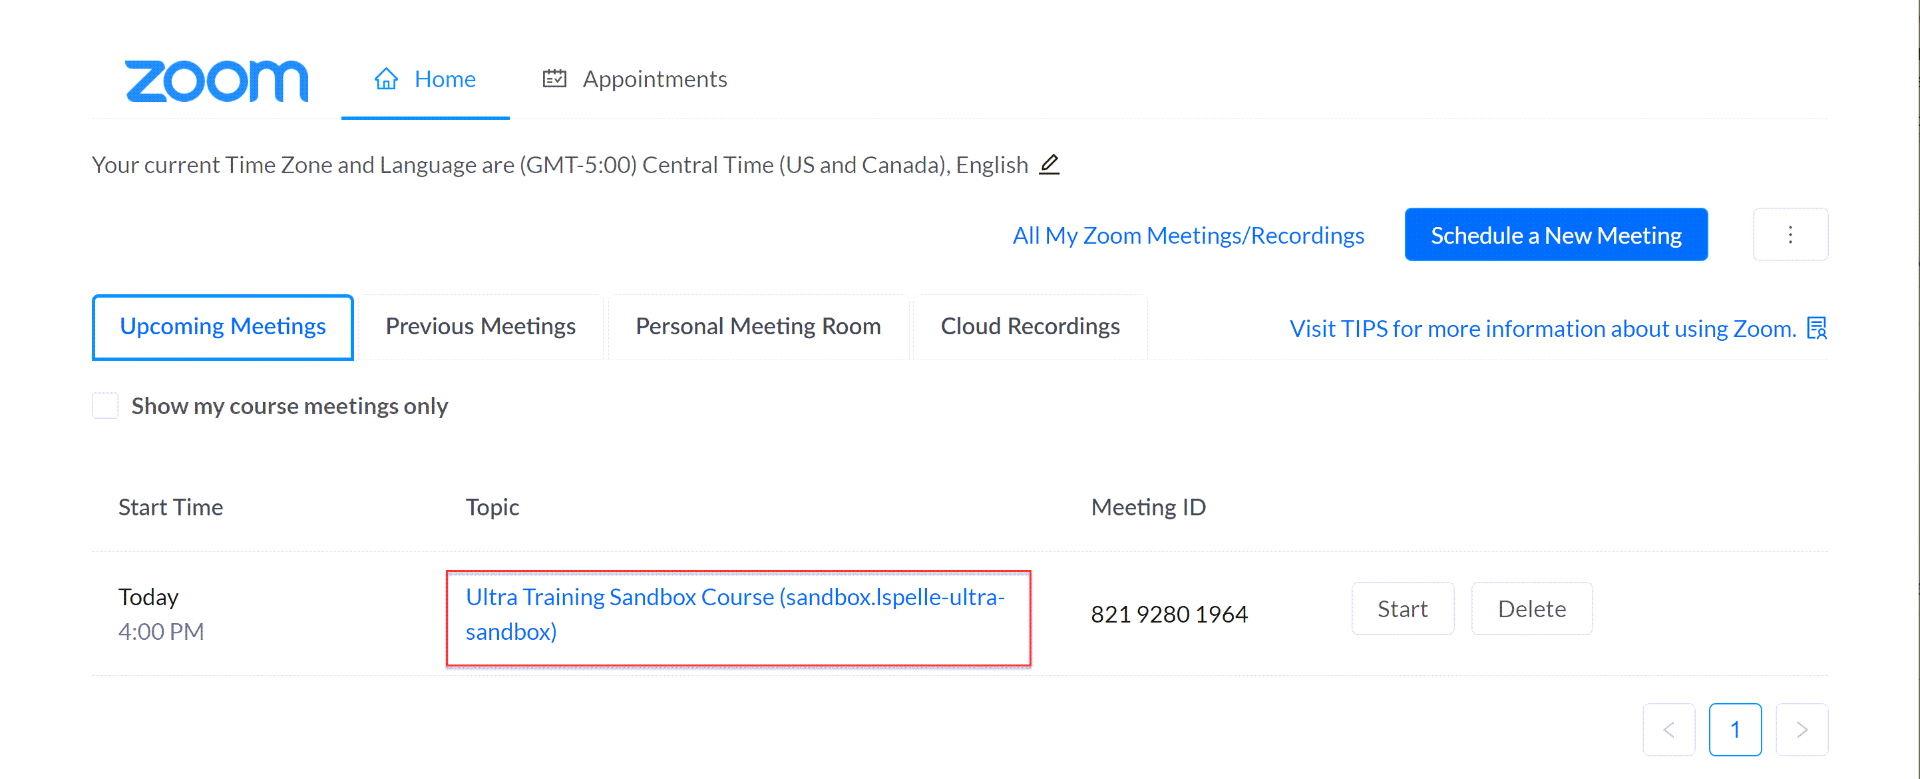
- You can check and verify your settings.
- To change settings, scroll to the bottom and click Edit this Meeting.
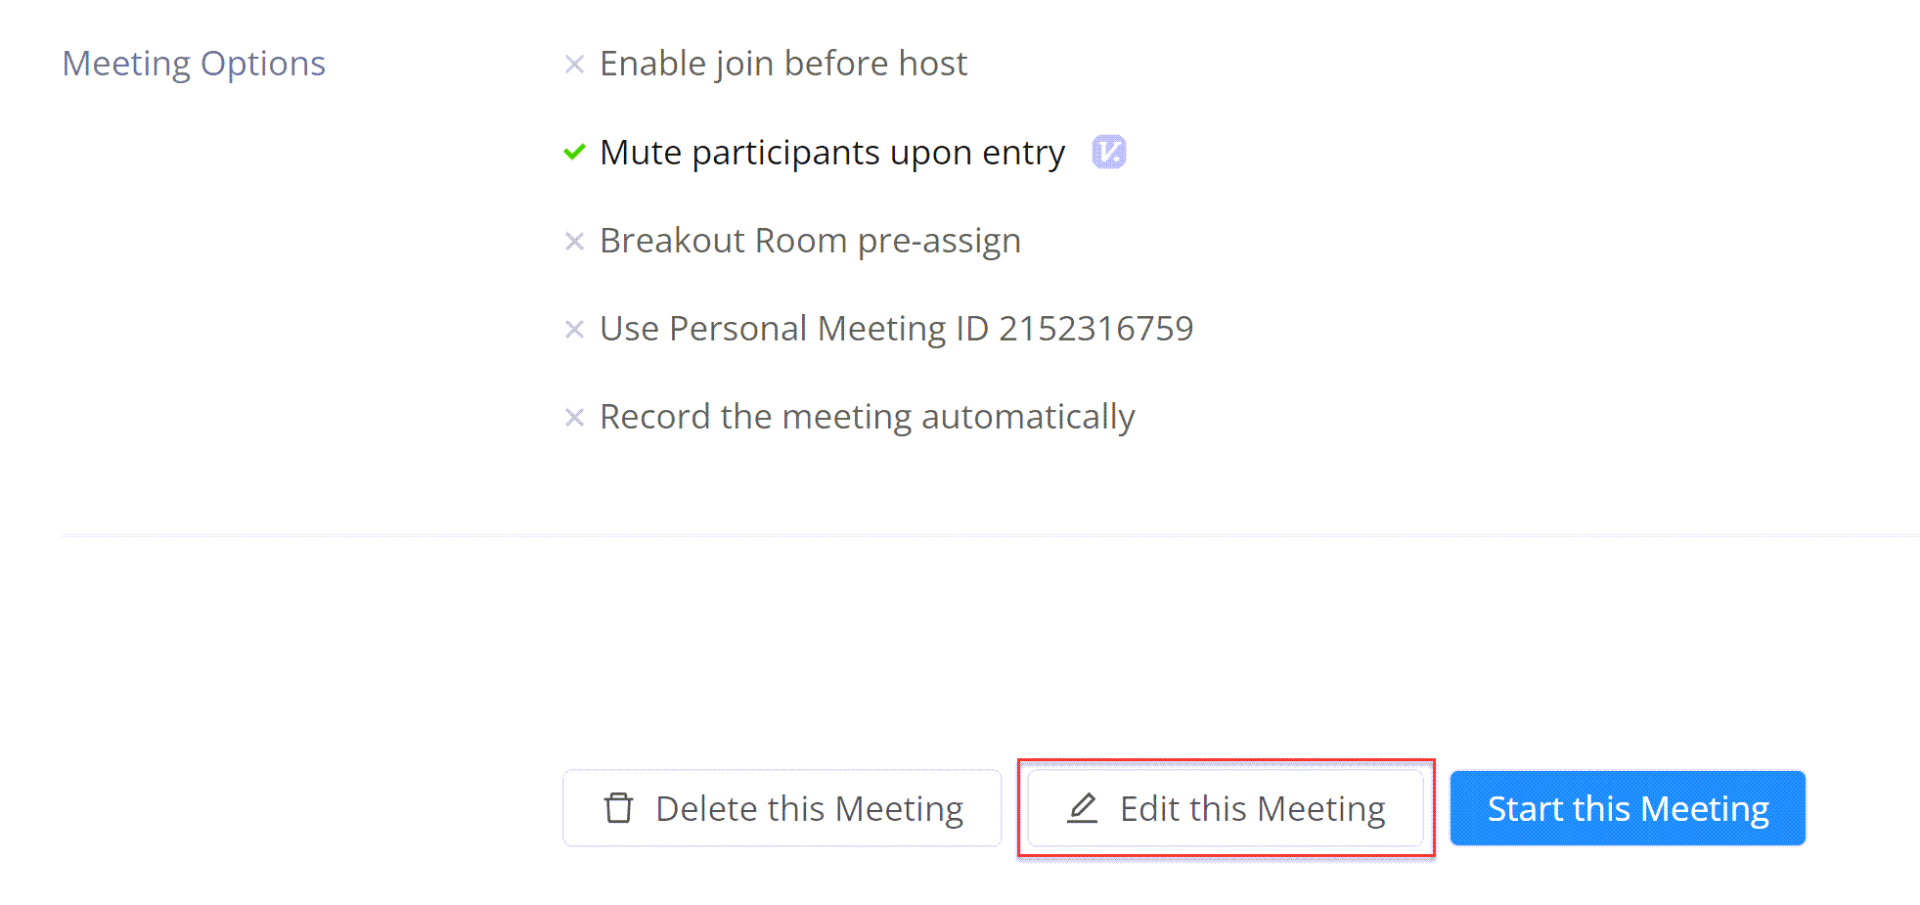
- This will change all recurring meetings. If you only want to edit a single occurrence, for example, if you have a guest speaker, then we recommend Option 2 below.
Option 2:
- Sign in at uark.zoom.us
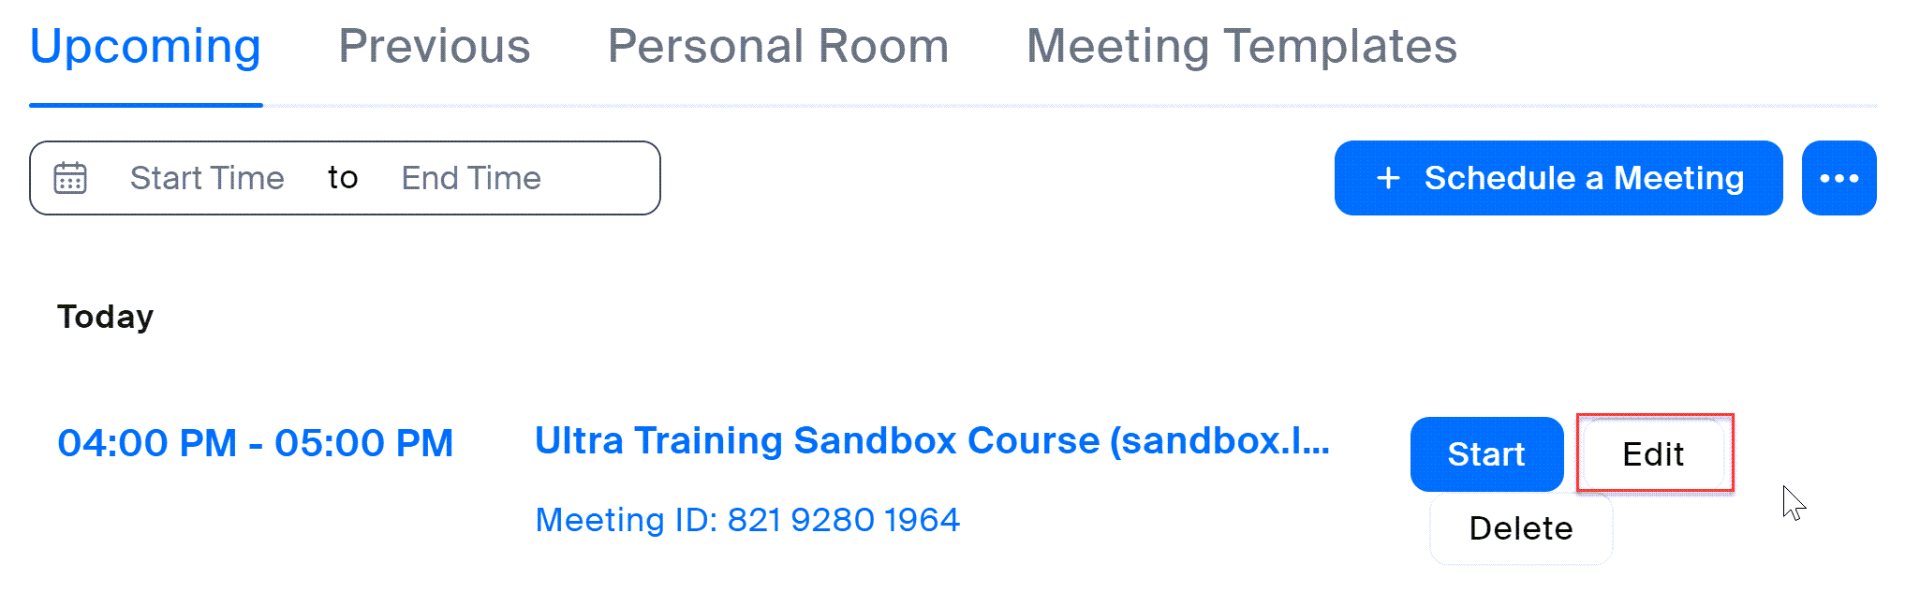
- In the left menu, click Meetings.
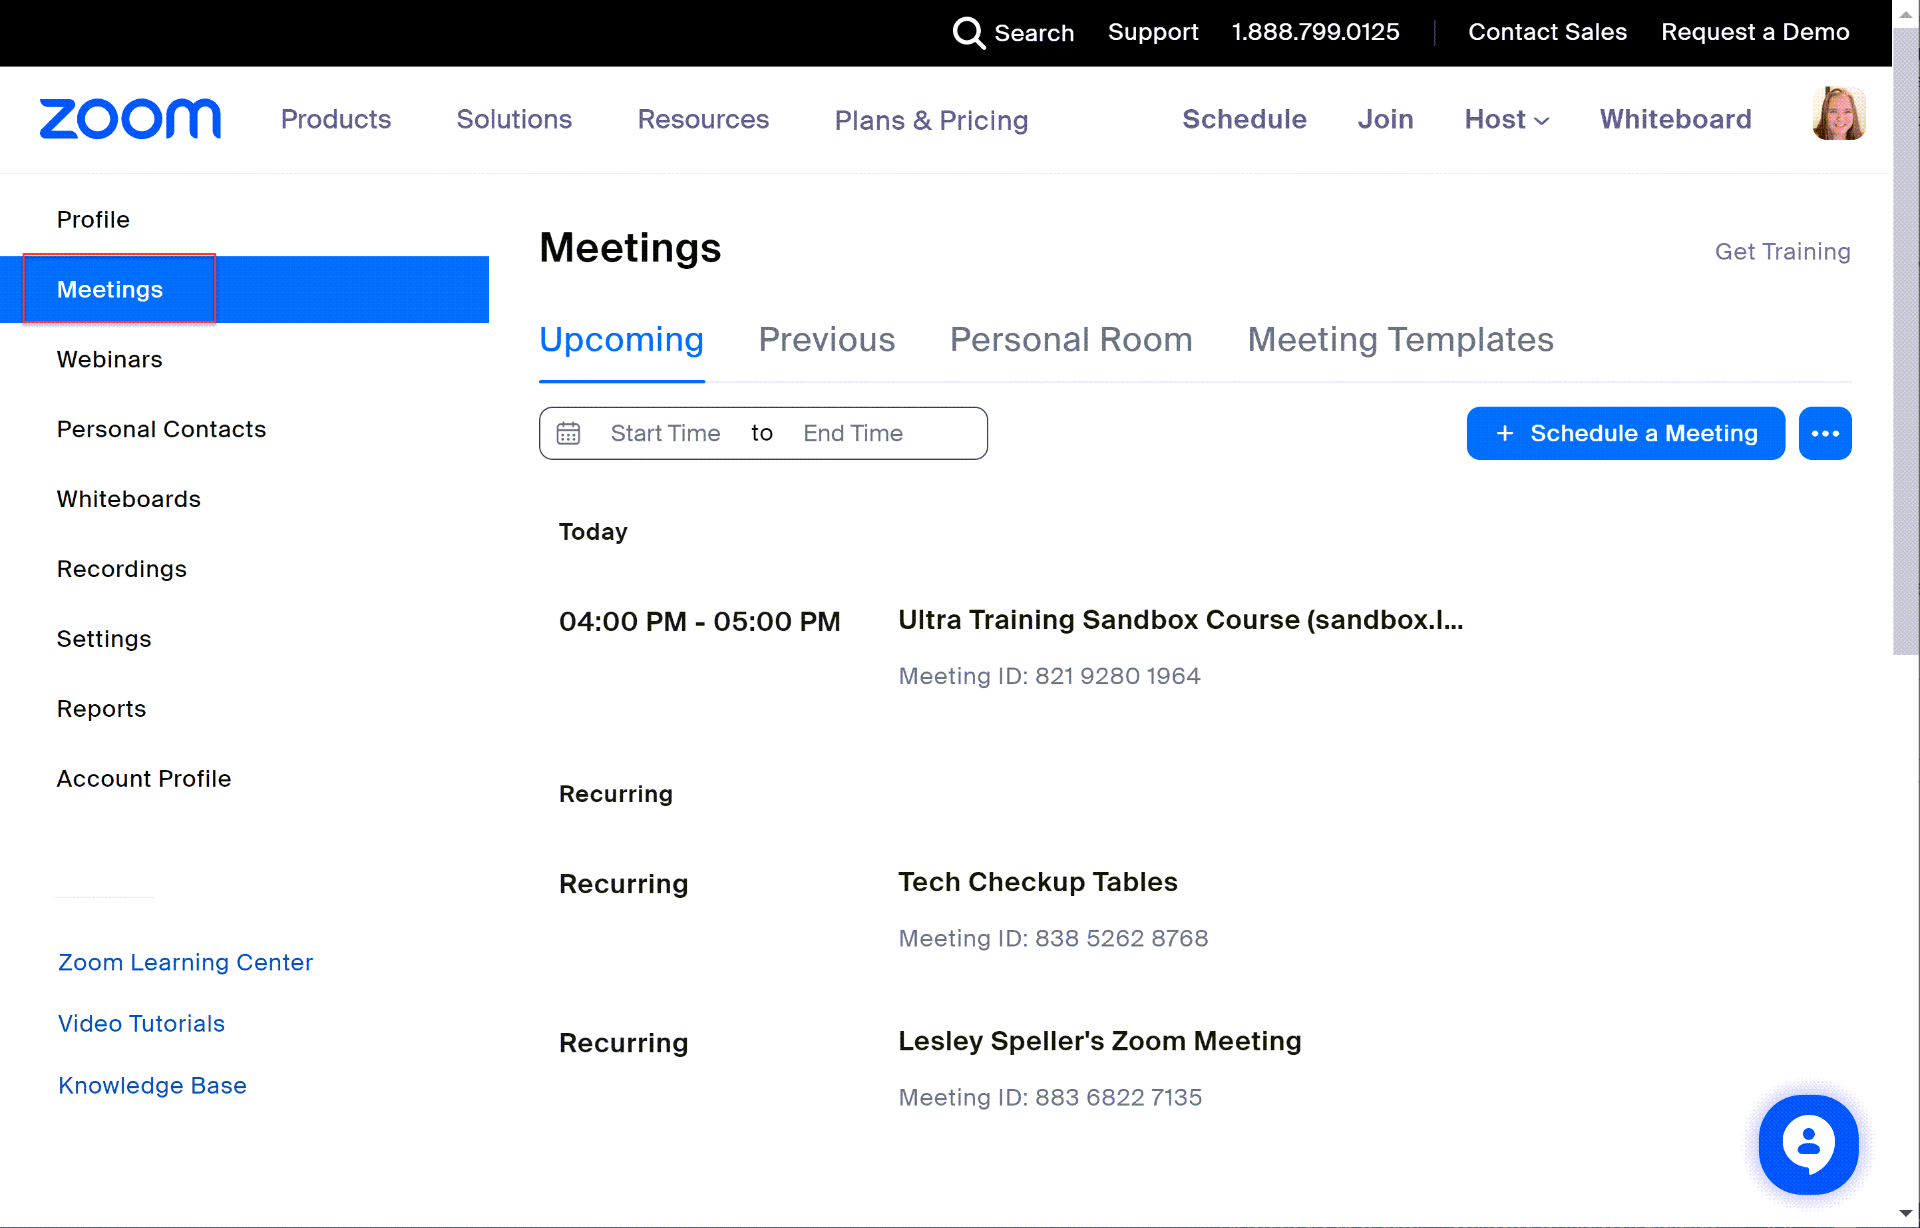
- Click Edit next to the meeting you wish to change.
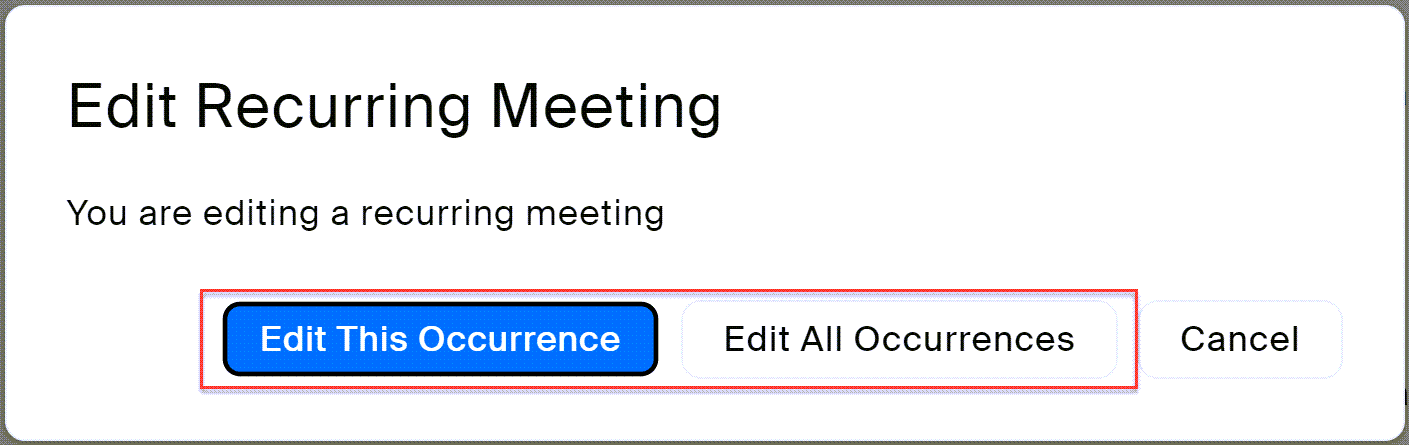
- If this is a reoccurring meeting, click either Edit this occurrence or Edit all occurrences.
- Make your desired change and click Save.
After Class Sessions: Adding Your Recorded Zoom Session from Kaltura to Your Course
When you record your sessions, you should make sure to choose Cloud Recording. When you do that, it sends it to Kaltura. You can then easily embed your videos in Blackboard. There are two ways to do this.
Adding your Recordings to Blackboard Learn
Finding your Recordings in My Media
To find your recorded Zoom meetings, log in to Blackboard and click Tools in the left menu, then click Kaltura Media.
Optional: Recording Sessions During a Meeting
If you forget to set the sessions to record by default, you can record during a meeting!
In the bottom menu, you can click Record.

If you don’t see “record,” you can click the three dots (…) and the record option should appear.
Related Posts:
- Teaching with Zoom – This article gives you an overview of how to use teaching features like breakout groups and polling using Zoom.
- Host and Co-Host Settings
- Enabling and Adding a Co-host
- Setting up a Virtual Background
Useful Resources: