You can create or modify a course syllabus within Blackboard Learn. If you have already created a syllabus in another application, you can upload it to Blackboard Learn.
Upload an Existing Syllabus File
You can upload a syllabus created outside of Blackboard Learn.
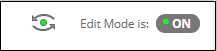
- Open the course. Verify Edit Mode is ON.
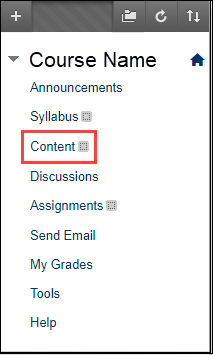
- Click the Content Area where you want to attach the syllabus.
- Hover over Build Content.
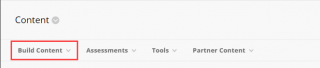
- Select File or Item
- Click Browse Local Files.
- Select the file. Click Open.
- In the Name field, enter a title for the file, for example, “Course Syllabus.”
- Specify your preferred settings for the file. Click Submit.

Note: You can upload your syllabus to the Syllabus Bank in UAConnect using these instructions.
Create a Syllabus
- Open the course. Verify Edit Mode is ON.
- Click the Content Area where the syllabus will appear.
- Click Build Content.

- Click Syllabus.
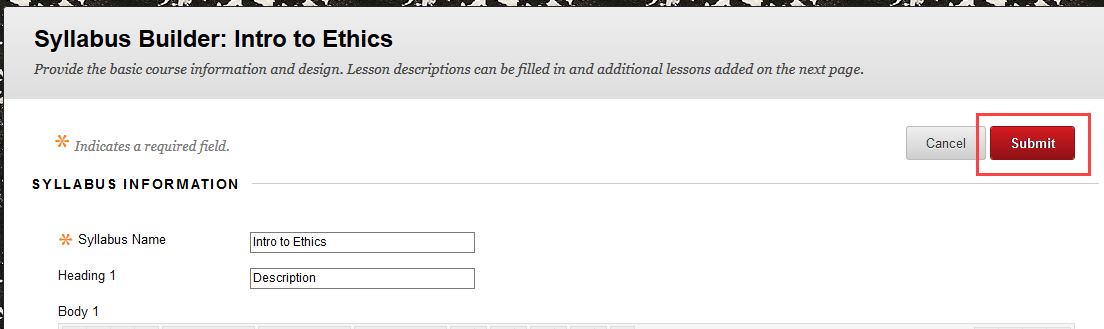
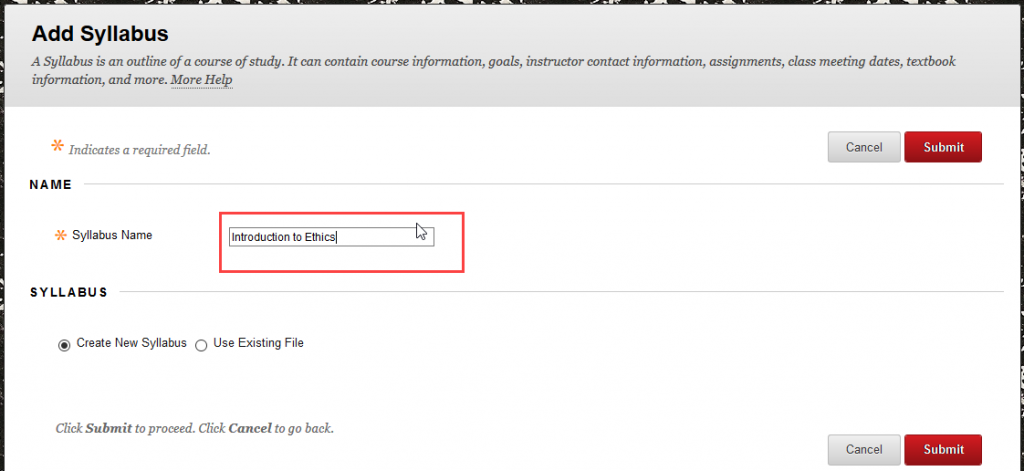
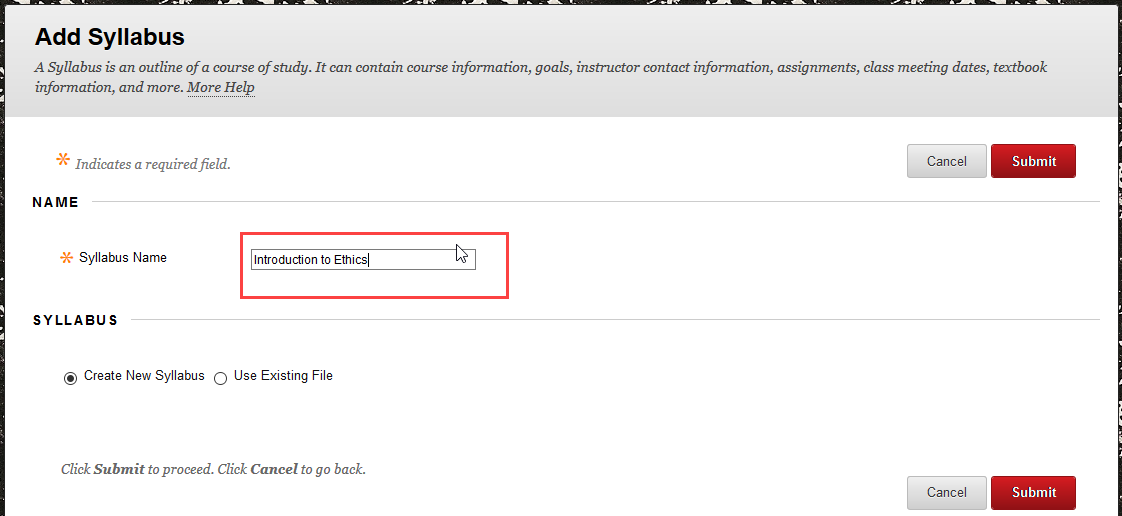
- Enter the syllabus name.
- Click the “Create New Syllabus” radio button.
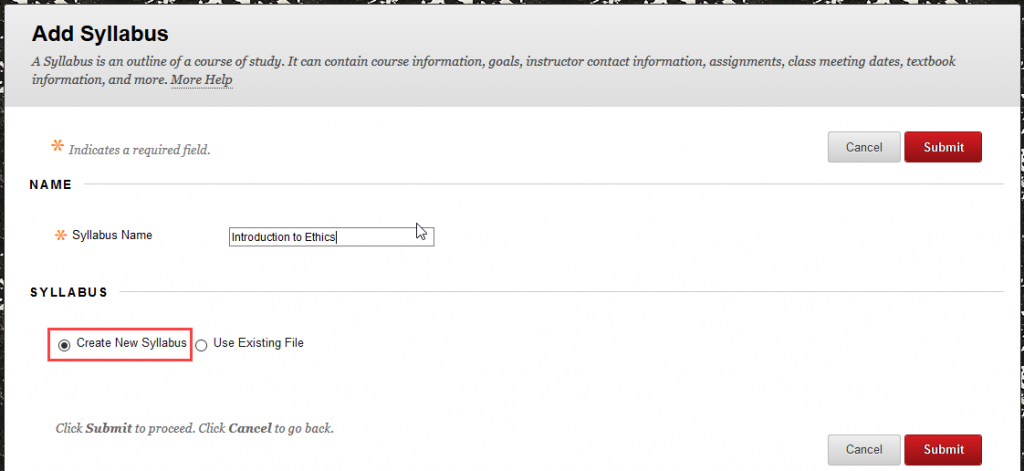
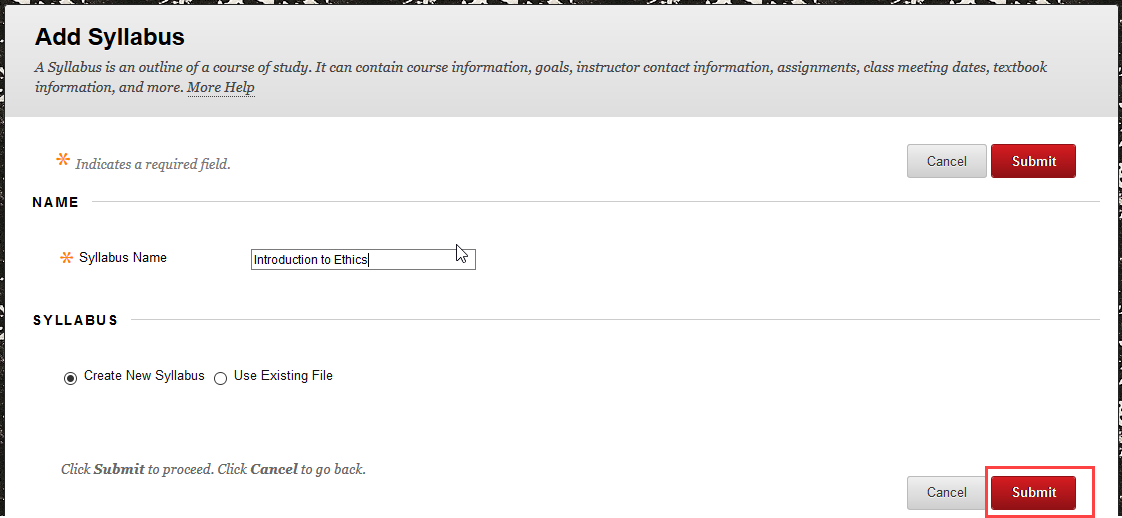
- Click Submit.

- Enter a heading in the Heading 1 field. Enter syllabus content in the Body 1 text box.
- Repeat step 9 for two more Heading and Body content sections until your syllabus is complete.
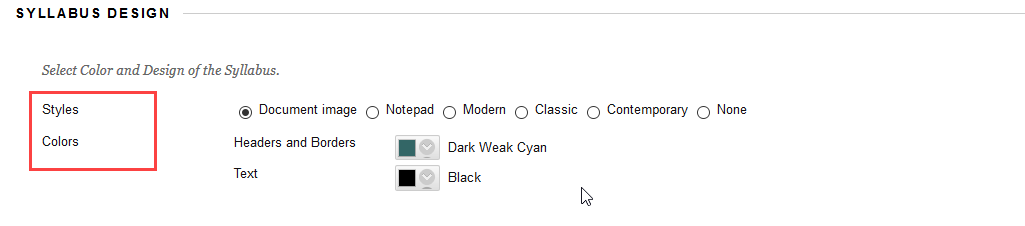
- Select the desired color and design settings for the syllabus.

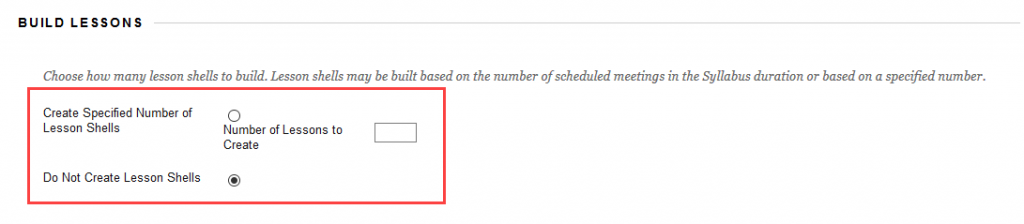
- Optional: In the Build Lessons section, learning modules or “lesson shells” can be added by selecting the “Create Specified Number of Lesson Shells” option and entering a number in the text field. After clicking Submit, you will be able to add course material to a module or lesson shell.
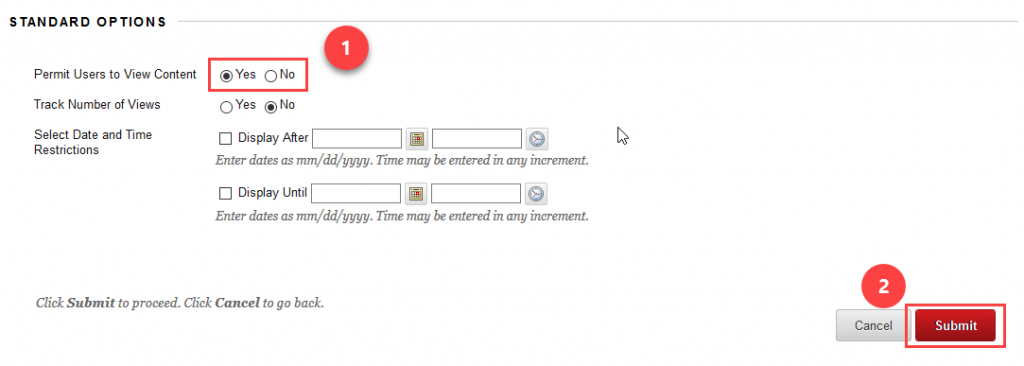
- In the Options section, click the Yes radio button next to “Permit Users to View Content.” And click the Submit button.


Edit Your Syllabus
- In the course, click on the Content Area where your syllabus is located.
- Click the down arrow next to the syllabus link.
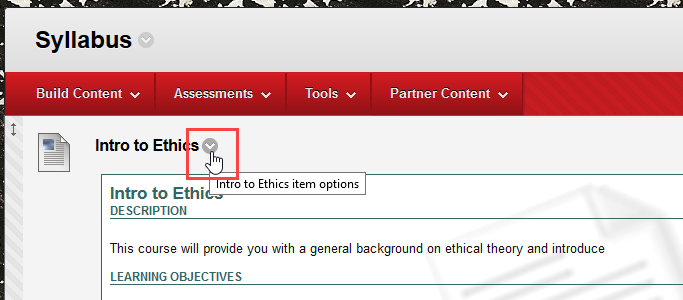
- Select Edit.

- Click Edit Syllabus.

- When finished editing, click Submit.