
Personalizing your Blackboard courses is a way to provide students with a unique online and educational experience. One way to personalize your Blackboard course is to add a picture or image (Banner) to the top of your course. Banners are also a useful way to indicate which course you are in which is especially helpful if you teach many courses a semester. Read on to learn how to personalize your course using the banner feature.
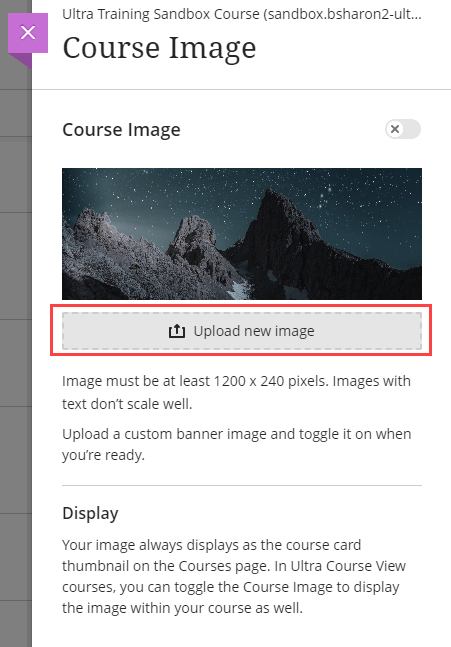
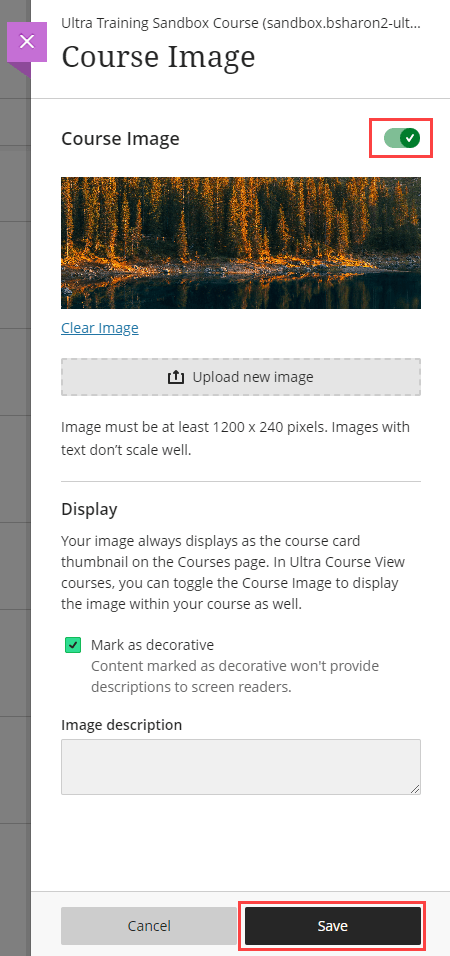
Blackboard recommends that banners are 1200 x 240 pixels. It is best to avoid images with text as they don’t scale well due to varying screen resolutions.
Creating a Banner in your Blackboard Course
- Enter your Blackboard course.
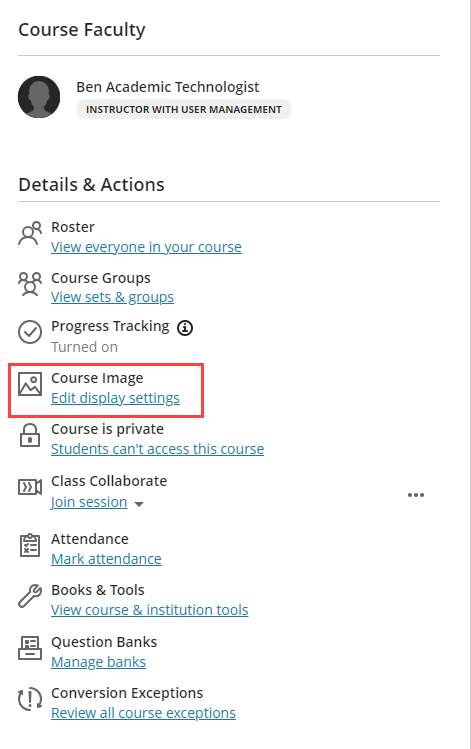
- In the Details & Actions menu on the left, click Course Image.
- Your course will have a default image there already but you can easily add a new one by clicking Upload new image.
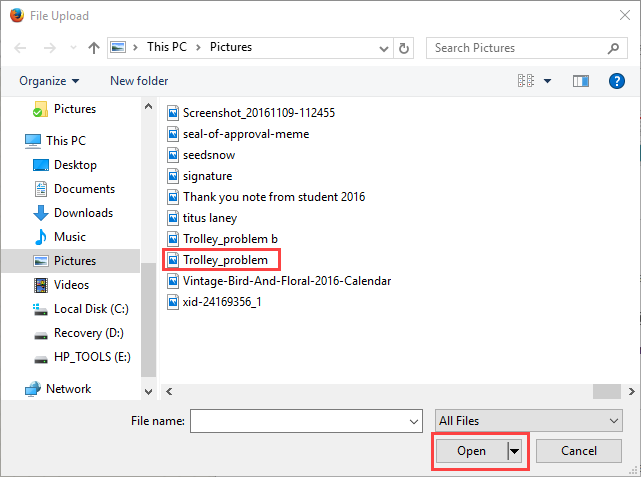
- Select the file you wish to use and click Open.
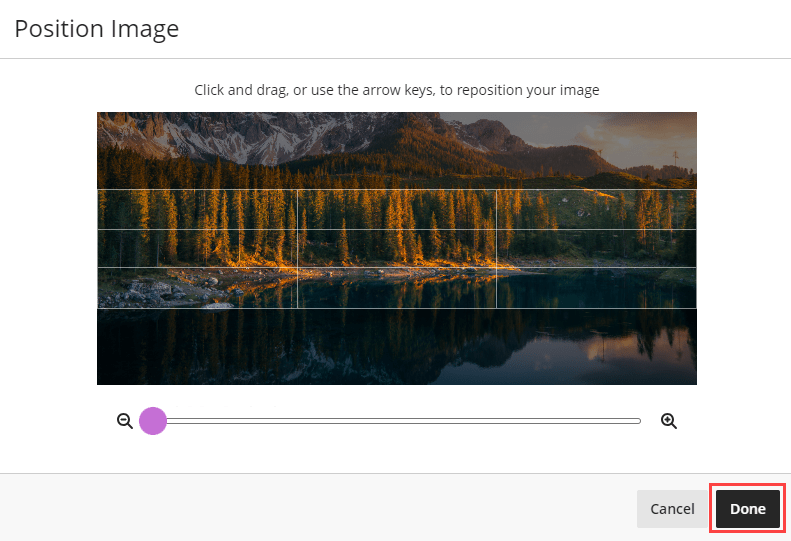
- After your image uploads, you will have the opportunity to adjust its positioning and zoom level. The grid boxes show you what will be visible in the banner. Once you are done adjusting, click Done.
- Your banner will always show up as the thumbnail for the course on your Blackboard courses page, but to have it show inside the course you need to click the slider in the Course Image menu and then click Save.
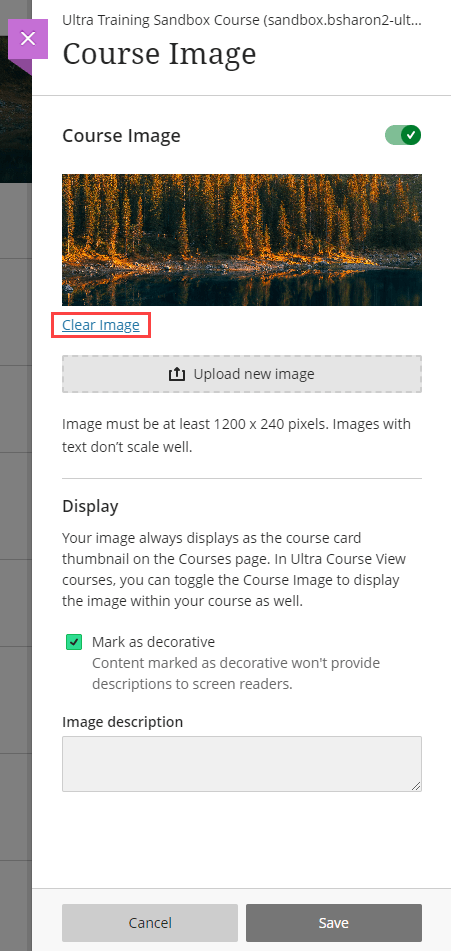
To reset the banner to the default image
- In the Course Image menu, click Clear Image.
- Click Delete on the following pop-up.
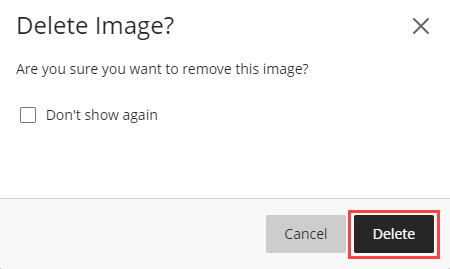
- Once you are done, click Save to finalize your changes.