
In Blackboard Learn under “Build Content” there are two Pearson LTI Advantage (1.3) tools:
- Pearson – used to connect the course to Pearson
- Pearson Assignment Links – used to create deep links for assignments
These tools will replace the existing Pearson tools located under Tools, “Pearson MyLabs & Mastering (Content)” and Partner Content, Content Market, Pearson Revel. Any courses will need to relink Pearson prior to the Fall 2023 semester.
This will not replace:
- Pearson Direct Integration (used by Math, STAT, and FINN)
- The Barnes & Noble First Day Partner Integration (where Pearson is configured using the FirstDay tool link).
Create your Pearson Course
Add the Pearson Tool
- If your course will belong to a course group (copied from a template or a coordinator course), set up the template before creating student-use copies.
- Open your Blackboard course.
- Go to the content area where you would like to add your tool.
- Click Build Content.
- Click Pearson Course Pairing.
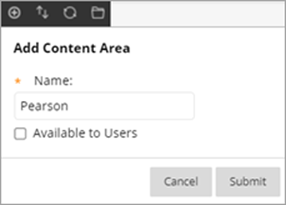
- Create a new link. We recommend you name the link Pearson. For example:
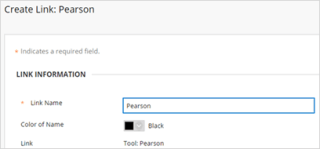
- Complete any other fields and then click Submit.

Link your Pearson account to Blackboard
If you don’t already have a Pearson instructor account, create one from the MyLab and Mastering site. Under Register, select Educator and follow the prompts.
Are you a section instructor or teaching assistant?
- Select the Pearson link from the area where you chose to add it (see step 3).

- Select Open Pearson. Note: You may see another page telling you how to re-open your content. If Pearson is not already open in another tab, return to your Blackboard course navigation and select the Pearson link again.
- Select the product you want to add to your course. Your selection is permanent and can’t be undone.
- Select Get Started.

- Agree to any authorization requests.
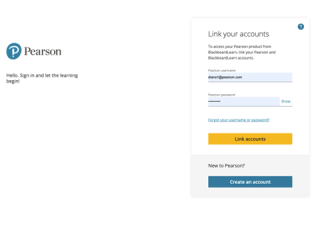
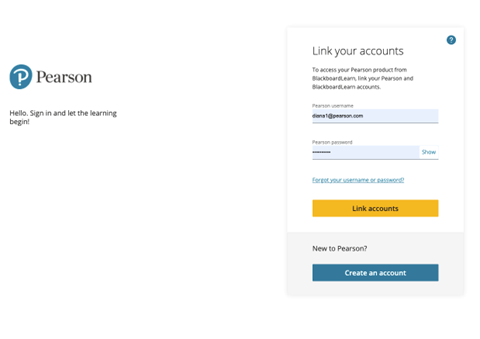
- Sign in with your Pearson instructor account. Note: You can only link one Pearson account to your Blackboard account. If you enter your password and the screen does not change, it’s likely your entered your password incorrectly. Try entering your password again, or select the Forgot your username or password? Link to reset your password and try again.
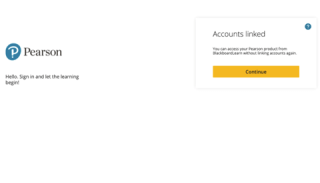
- Select Get Started.

Create your Pearson course
Set Up Grade Sync
- Open your Blackboard course.
- Select the Pearson link.
- Launch into your Pearson course.
- In your MyLab, Mastering, or Revel course, turn on any grade settings and create assignments. If needed, set availability/due dates and choose grade sync settings. Then return to your Blackboard course to apply the guidelines to its names and settings.
- If you enter your password and the screen does not change, it’s likely you entered your password incorrectly. Try entering your password again, or select the Forgot your username or password? Link to reset your password and try again. To avoid issues opening courses and syncing grades, make sure names and settings do not have UTF-8 or these special characters: \ / ” * < > + = | , % ! &
- Navigate back to Blackboard and select the Pearson link.
- Select Grade Sync.

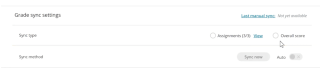
- Make selections in the Items to Sync list. You might need to wait a short while to see these items. Synced Pearson assignments are added to the first assignments group. You can rearrange these in your Blackboard course.
- To automatically sync grades as they become available, select On. If Off is selected, Pearson grades only sync to Blackboard when you select Sync Grades Now.

- Use Sync Grades Now anytime to manually sync all existing grades. This includes grades available before you turned auto sync on. Any edits you make to Pearson grades and column names in the Blackboard gradebook might be overwritten to match Pearson grades. To fix this, make your changes to the Pearson gradebook and then Sync Grades Now. You can also download the Blackboard gradebook as a backup. See your LMS Help for instructions.


There may be a short delay after a student completes an assignment before the grades sync to Blackboard. Let students know they may need to wait up to 30 minutes after completing an assignment to see their grades in Blackboard.
Create Assignment-Level Links
- From your Blackboard course, select or add a content area. To add a content area, select the plus (+) sign at the top of the left navigation. (See Blackboard Help for detailed instructions.)
- Select Build Content and then Pearson Assignment Links.
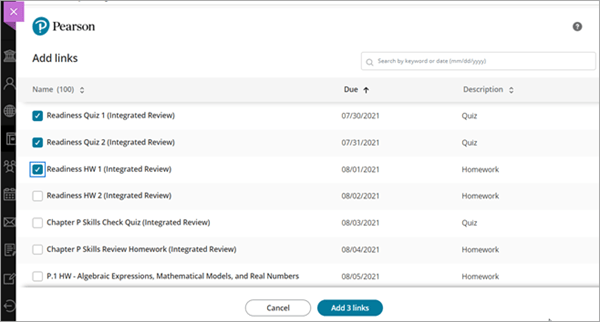
- Scroll to see all the links or search for specific links. Choose a column heading to sort.

- Select one or more links and then Add links. The button shows the number of links you selected.
- You’ll see the new assignment links in the content area where you added them.
To add more assignment links, or to add links in a different section of your course, repeat the previous steps.
Tips for using assignment links
- Assignment links work in a new Blackboard course paired with a new MLM course if you copy the same Pearson course paired with the original Blackboard course.
- Assignment links are automatically available to students unless you change their publish status in your LMS course.
- Assignment links for offline assignments or activities aren’t supported.
- To see the links for practice and reading Mastering assignments, make sure they have due dates and then choose the Assignments option for grade sync. Select the practice and reading assignments and then sync grades. The links are now visible and associated grades show up as dashes in the gradebook.