There are many great features in Zoom that help to increase student engagement in the remote, hybrid, or online classroom. Read below to see how to use the various features in Zoom!
Setting Up Your Zoom Session in Blackboard
For the best experience in teaching with Zoom, you should link the Zoom tool to your Blackboard Learn Ultra course. This allows students easy access to the class sessions and allows all students in the class to access the sessions without having to find the link elsewhere.
- Navigate to your Blackboard Learn Ultra course.
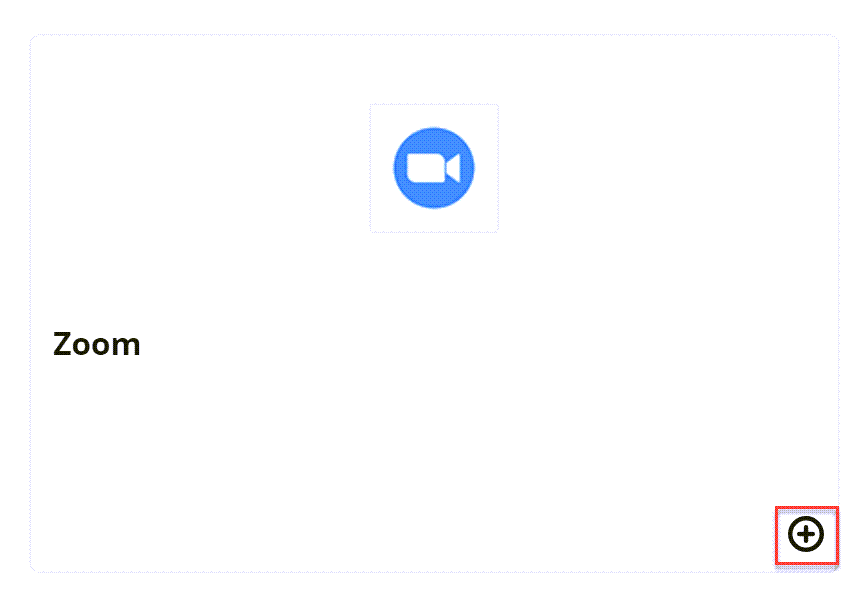
- Click the plus sign (+) where you want the Zoom link to appear.

- Click Content Market.

- Click the plus sign (+) on the Zoom box.
Add an alternative host to Your Zoom Session
To add an alternative host for your session
- Create your class sessions in Blackboard.
- Go to uark.zoom.us and log in.
- Click Meetings in the left menu.
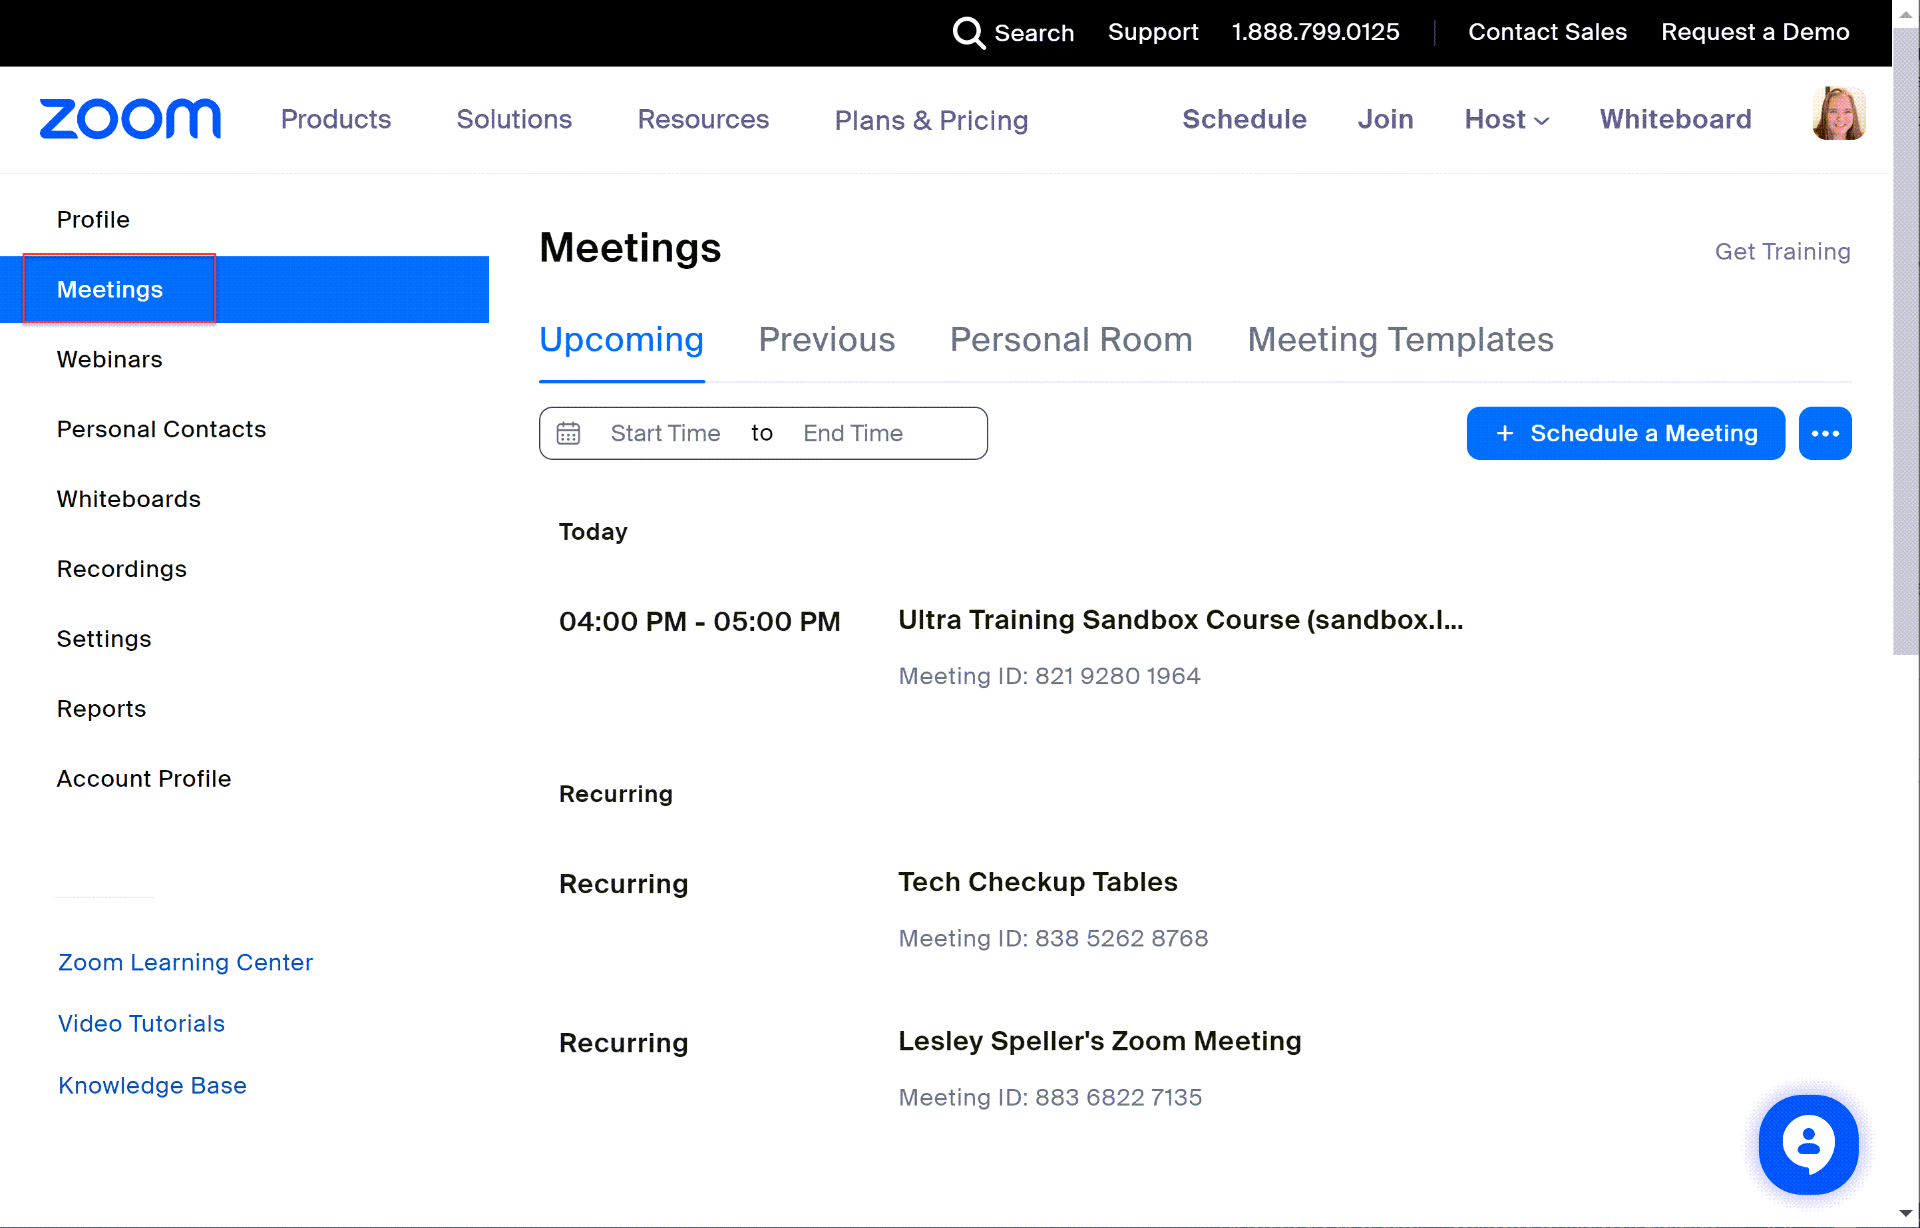
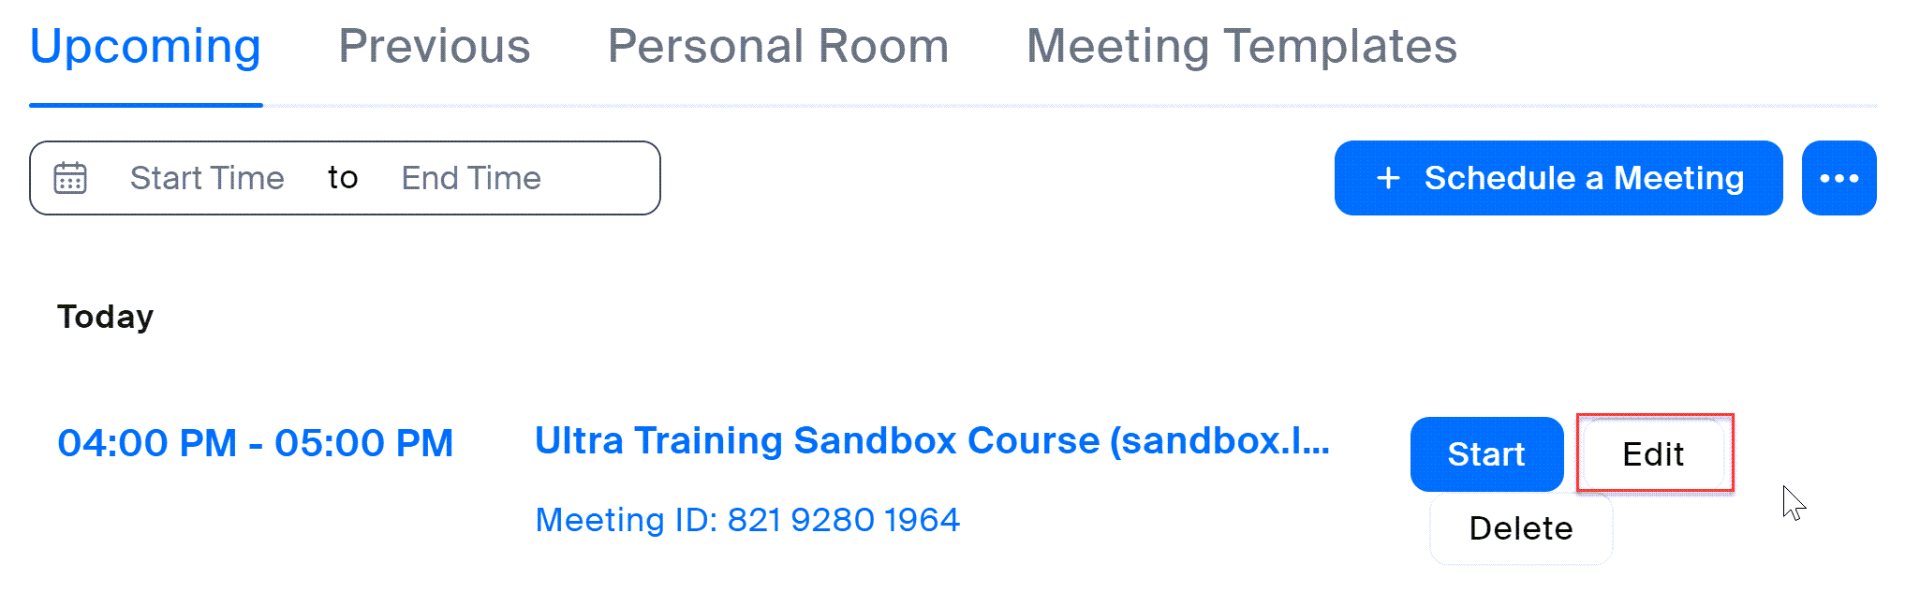
- Click on the meeting to which you want to add an alternative host.
- Click Edit meeting at the bottom of the page.
- Scroll to the bottom and add the email address of your alternative host.
Using Breakout Groups
Breakout groups are a great way to increase student engagement by introducing small group discussions to the remote or hybrid classroom. Zoom allows you to create breakout groups on the fly. You can assign them randomly or manually add students into groups. They also allow you to create groups ahead of class and pre-assign students to groups.
You can use breakout groups to introduce variety in class, increase critical thinking by having students engage in discussion, and allow for in-class collaboration and group work.
Useful articles on Breakout Groups:
- Managing Breakout Groups – This article gives you information on how to assign participants to groups randomly or manually and how to broadcast a message to all groups.
- Pre-assigning students to breakout groups – You can set up breakout groups before your session starts. This is useful if you have set groups throughout the semester.
- To Pre-assign Breakout Groups you need to set up your sessions in Blackboard first.
- Then go to uark.zoom.us and log in.
- Click Meetings in the left menu.
- Click the meeting to which you want to add Breakout groups.
- Click Edit Meeting at the bottom of the page.
- From there, scroll to the settings at the bottom and click Pre-assign Breakout Groups
- Student/participant instructions for Breakout Groups – These instructions are useful for participants in breakout groups.
Polling Your Students
Polling is a fantastic way to increase student participation and can be downloaded and used for participation points in class. This can give you insight into their opinions, whether they understand the content, or as a way to recall their attention to the class discussion. Polling is a great way to increase student participation and can be downloaded and used for participation points in class.
Polling must be enabled in your global options before you can use them in a session. You must also load your polling questions before the session begins and you can only have up to 25 polling questions per session.
Useful articles on Polling:
- Polling in Meetings – this article discusses how to set up polls, launch polls, and download poll results.
Sharing Your Screen
In many cases, you want to share content with your students. A video clip might provide a great example from your course content, a PowerPoint might be useful for presentations, and sharing an interactive whiteboard might be something that you can use to engage your students and allow them to share ideas and demonstrate their knowledge.
With Zoom you can share applications like PowerPoint or Excel or you can share a whiteboard or even video. The articles below give details on how to share these different applications.
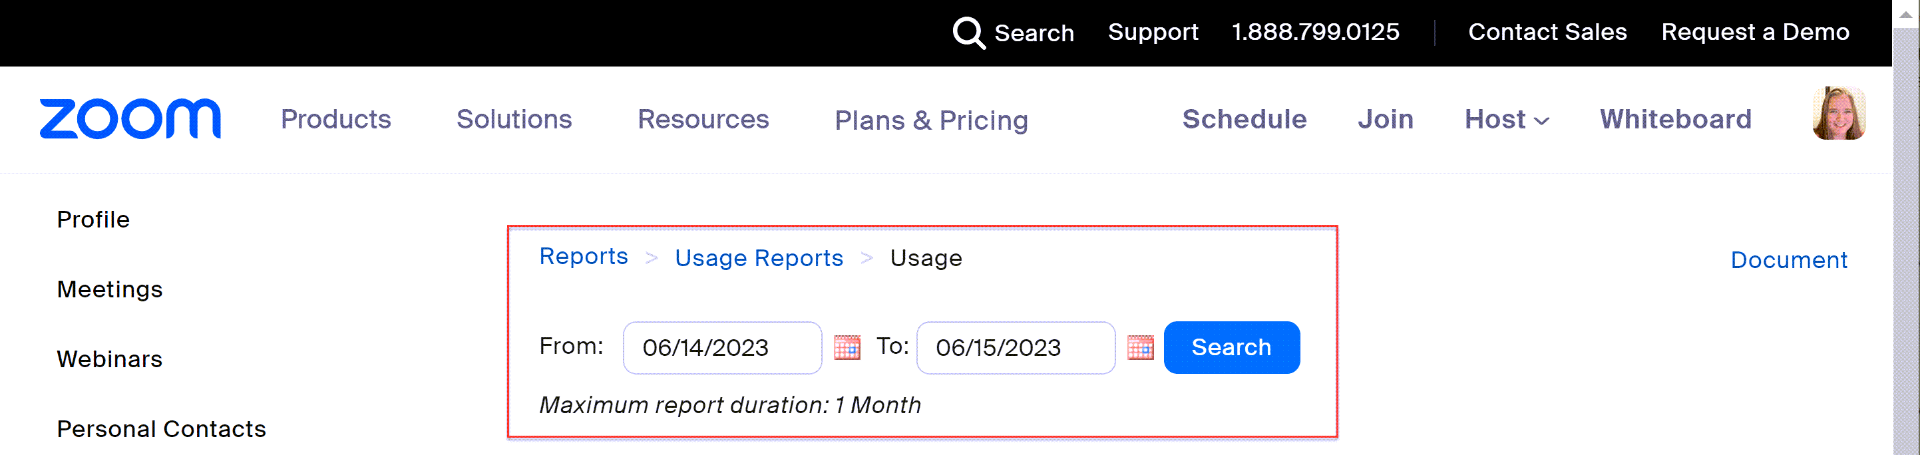
Attendance
While attendance is not integrated into Blackboard, Zoom allows you to run an attendance report.
- Log in to uark.zoom.us.
- Click Reports in the left menu.

- Click Usage.
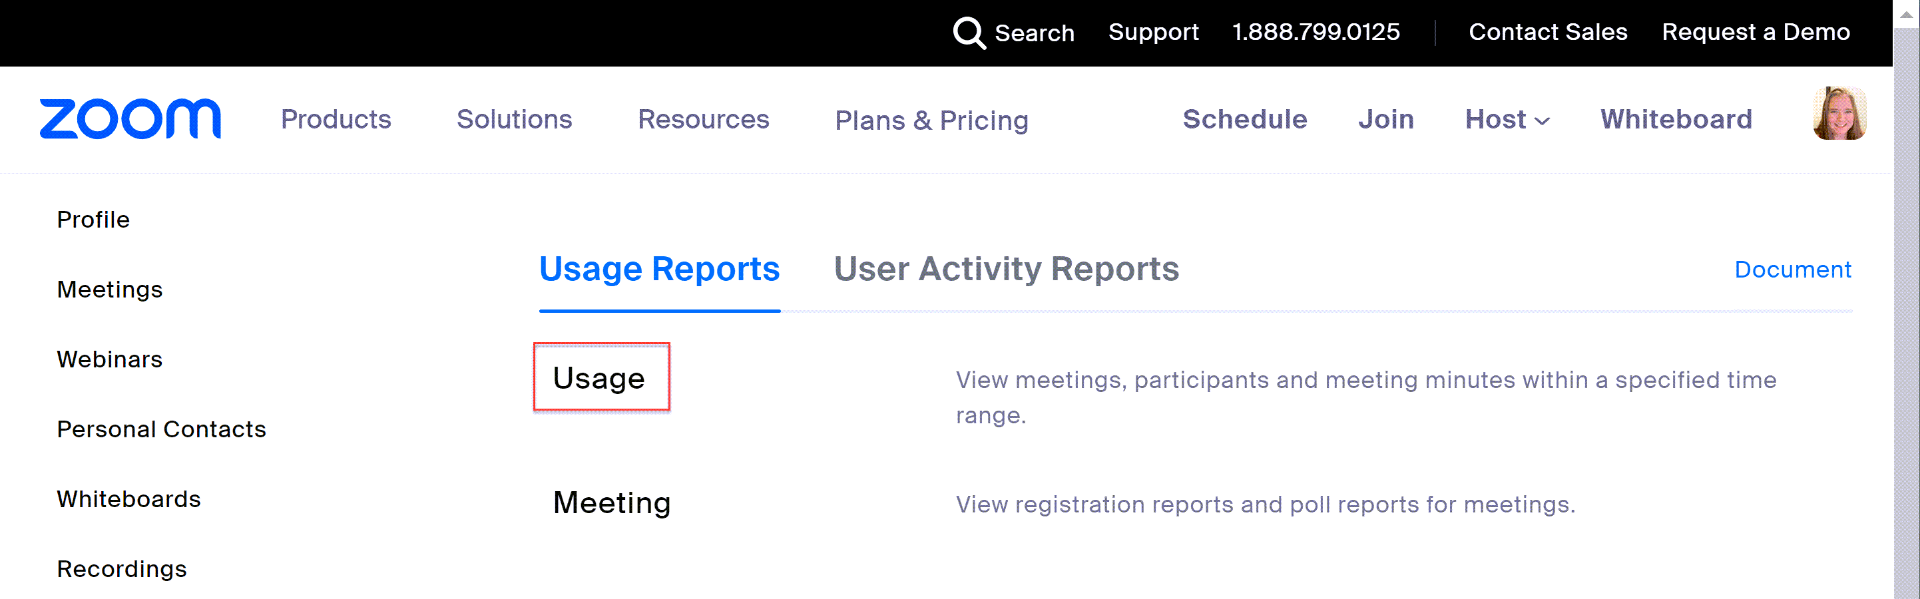
- Choose your date range for the report.
TIPS for Sharing Video
In some cases sharing a video during your session could lead to a less-than-ideal experience for students. If your internet connection is poor or if your student’s connection is poor, it could cause issues with sound and or video quality. We recommend that you share a link to the video in the chat and allow students to watch it on their own devices and come back to the session to discuss it. However, if you do choose to share your video here are some articles that can help to make it successful.
- Sharing your screen (allows you to share video)
- Optimizing video
- Sharing Audio
Useful Resources: