There are times when you only want certain students to view content in Blackboard. There are a few ways to make content available to select students.
Sharing Echo360 Videos
There are a few different ways to share Echo360 videos with select students. You can create groups at echo360.org and share them with select students or you can create release conditions on a folder in Blackboard and share the videos in Blackboard. Read this post for the different ways to share Echo360 recordings with students.
Adding a Co-Viewer to a Kaltura Video
If you need a student to view a video that you have uploaded to Kaltura, you can add them as a viewer in Kaltura.
Step 1: Add Your Video to Kaltura
You first need to be sure that your video is in Kaltura.
If you are recording a class session using Zoom, this is automatically done.
You can also upload media that you created to Kaltura.
Step 2: Add a Co-Viewer to Your Video
- Go to video.uark.edu.
- Click the person icon in the upper-right corner.

- Click Login.
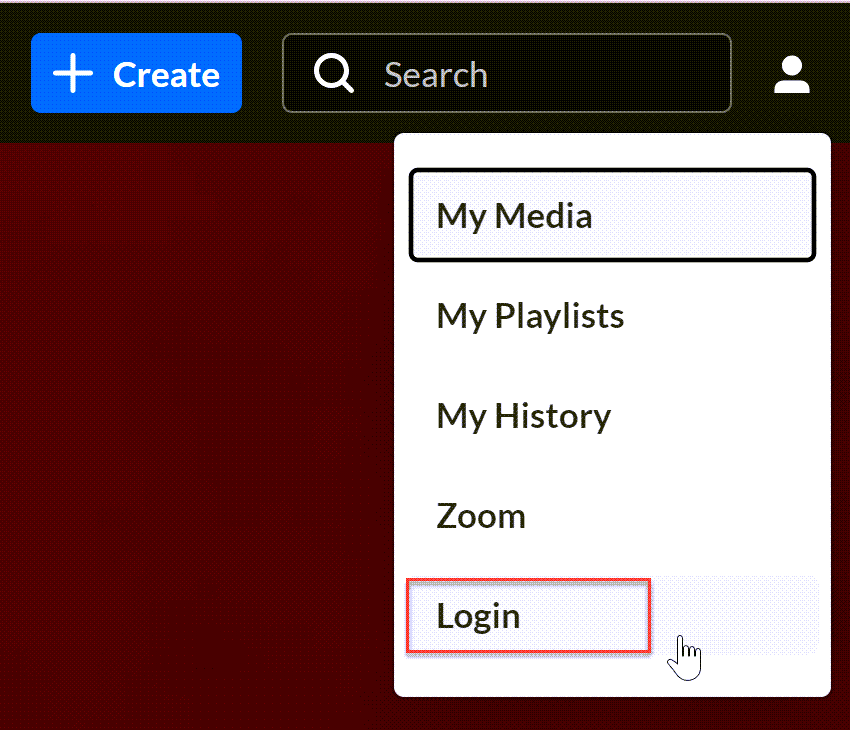
- Log in with your UARK email and password if prompted.
- Click the person icon in the upper-right corner.

- Click My Media.
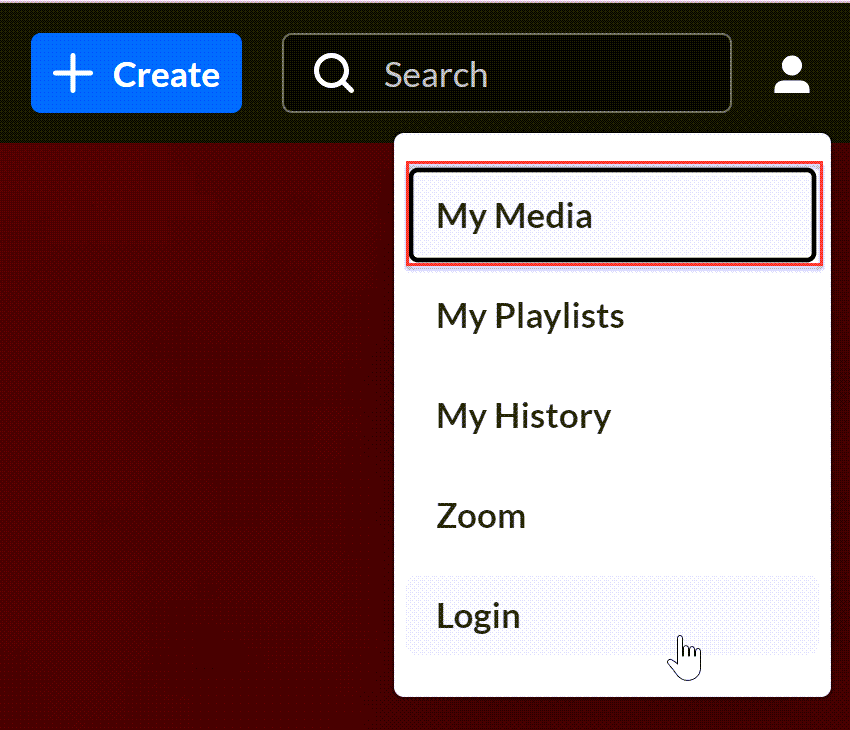
- To the right of the video you want to share, click the pencil icon.

- Click Collaboration.

- Click + Add Collaborators.
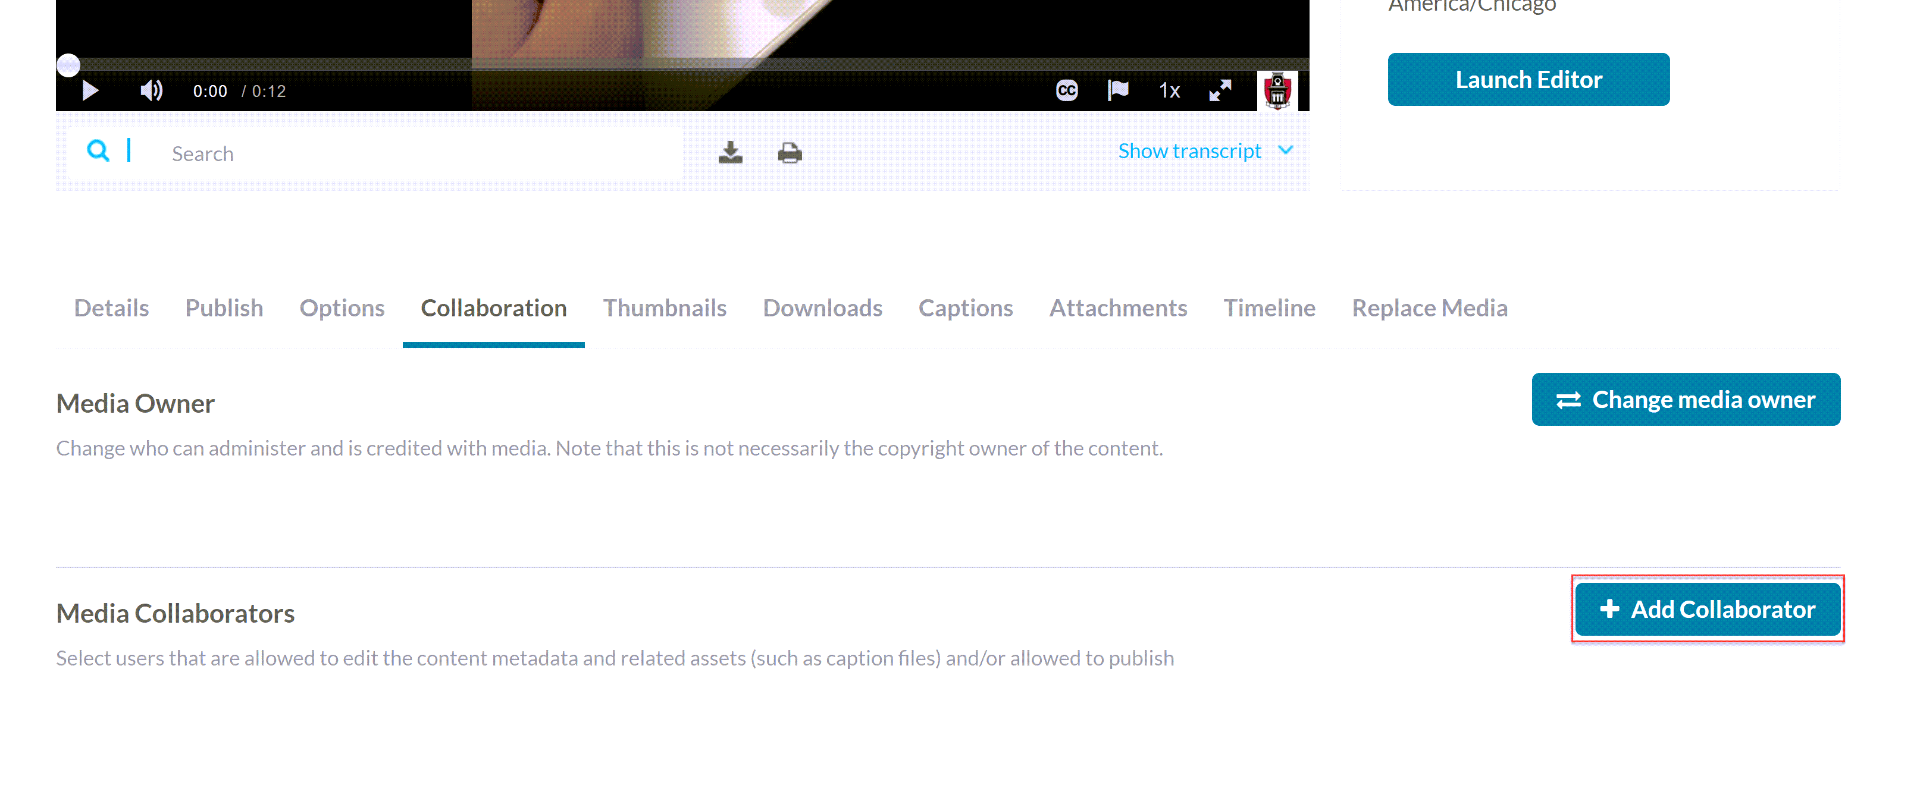
- Type in the email address of the users to whom you would like to grant access and click their name when it appears.
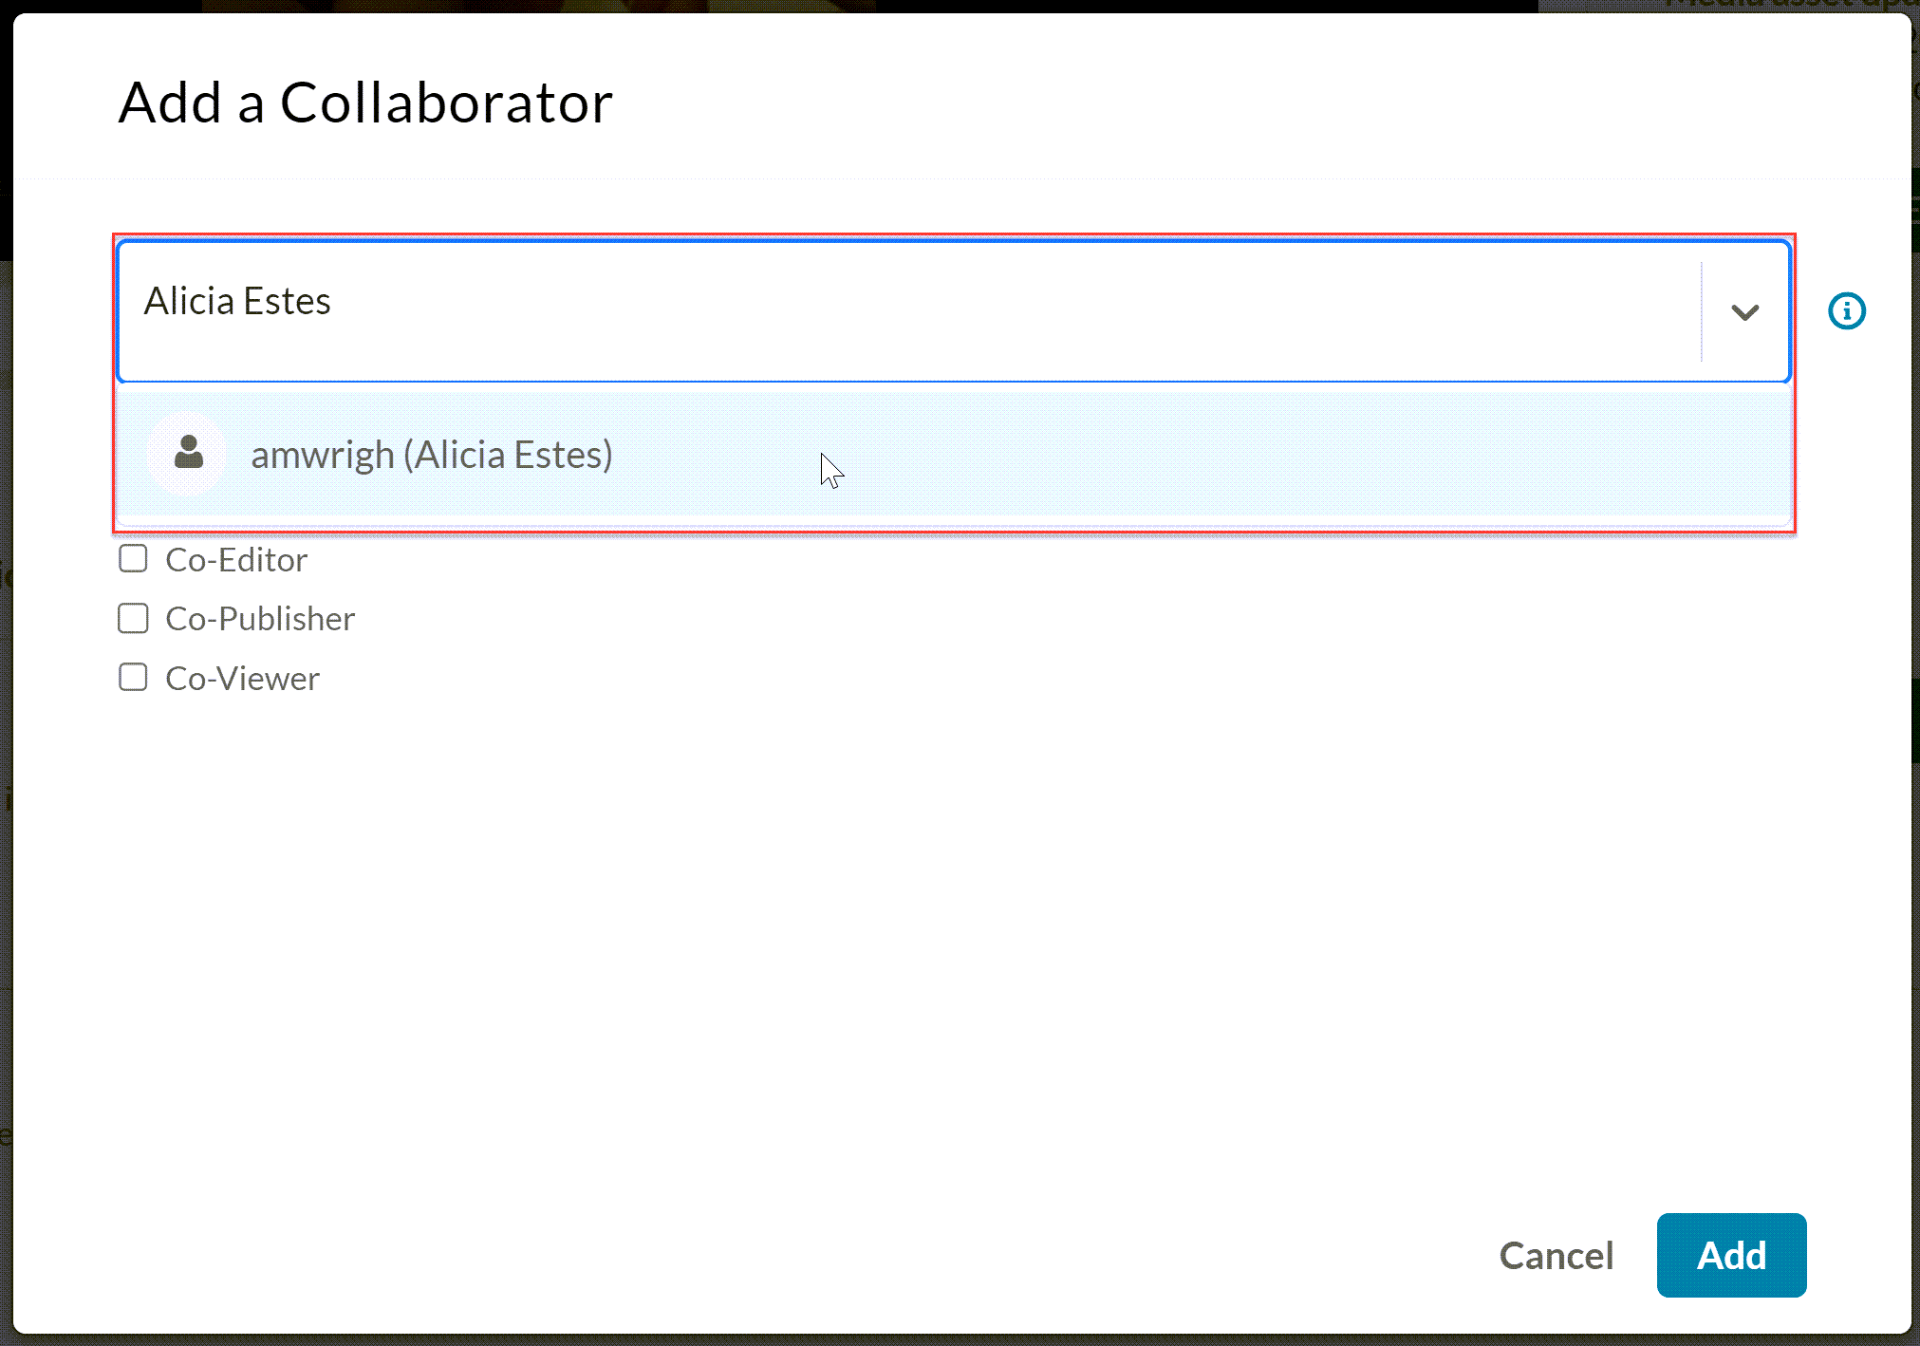
Note: If their name does not appear, they may need to log in to video.uark.edu to activate their account. - Check the box next to Co-viewer.
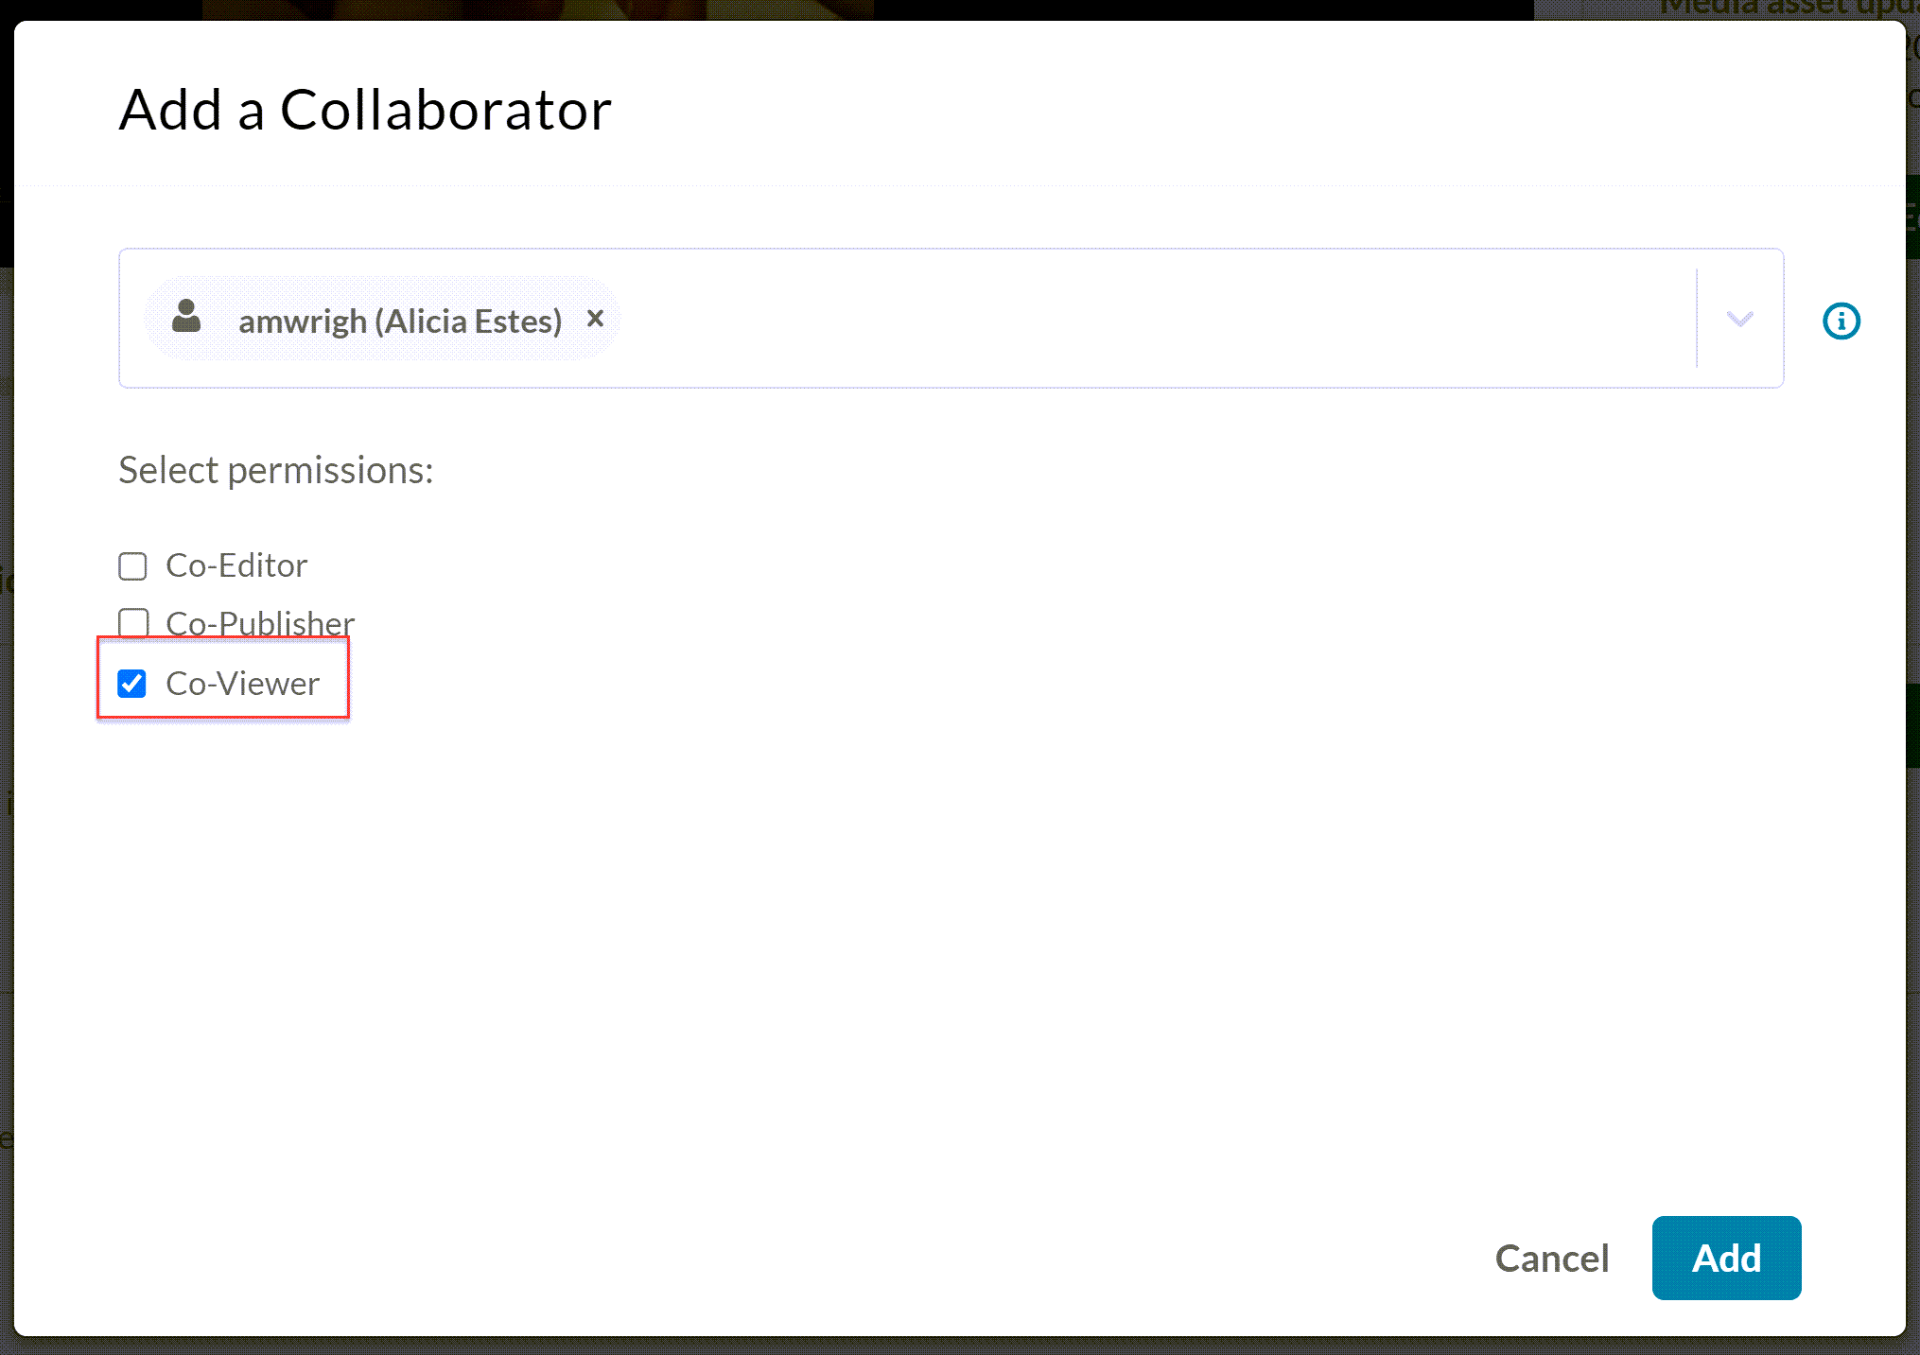
- Click Add.
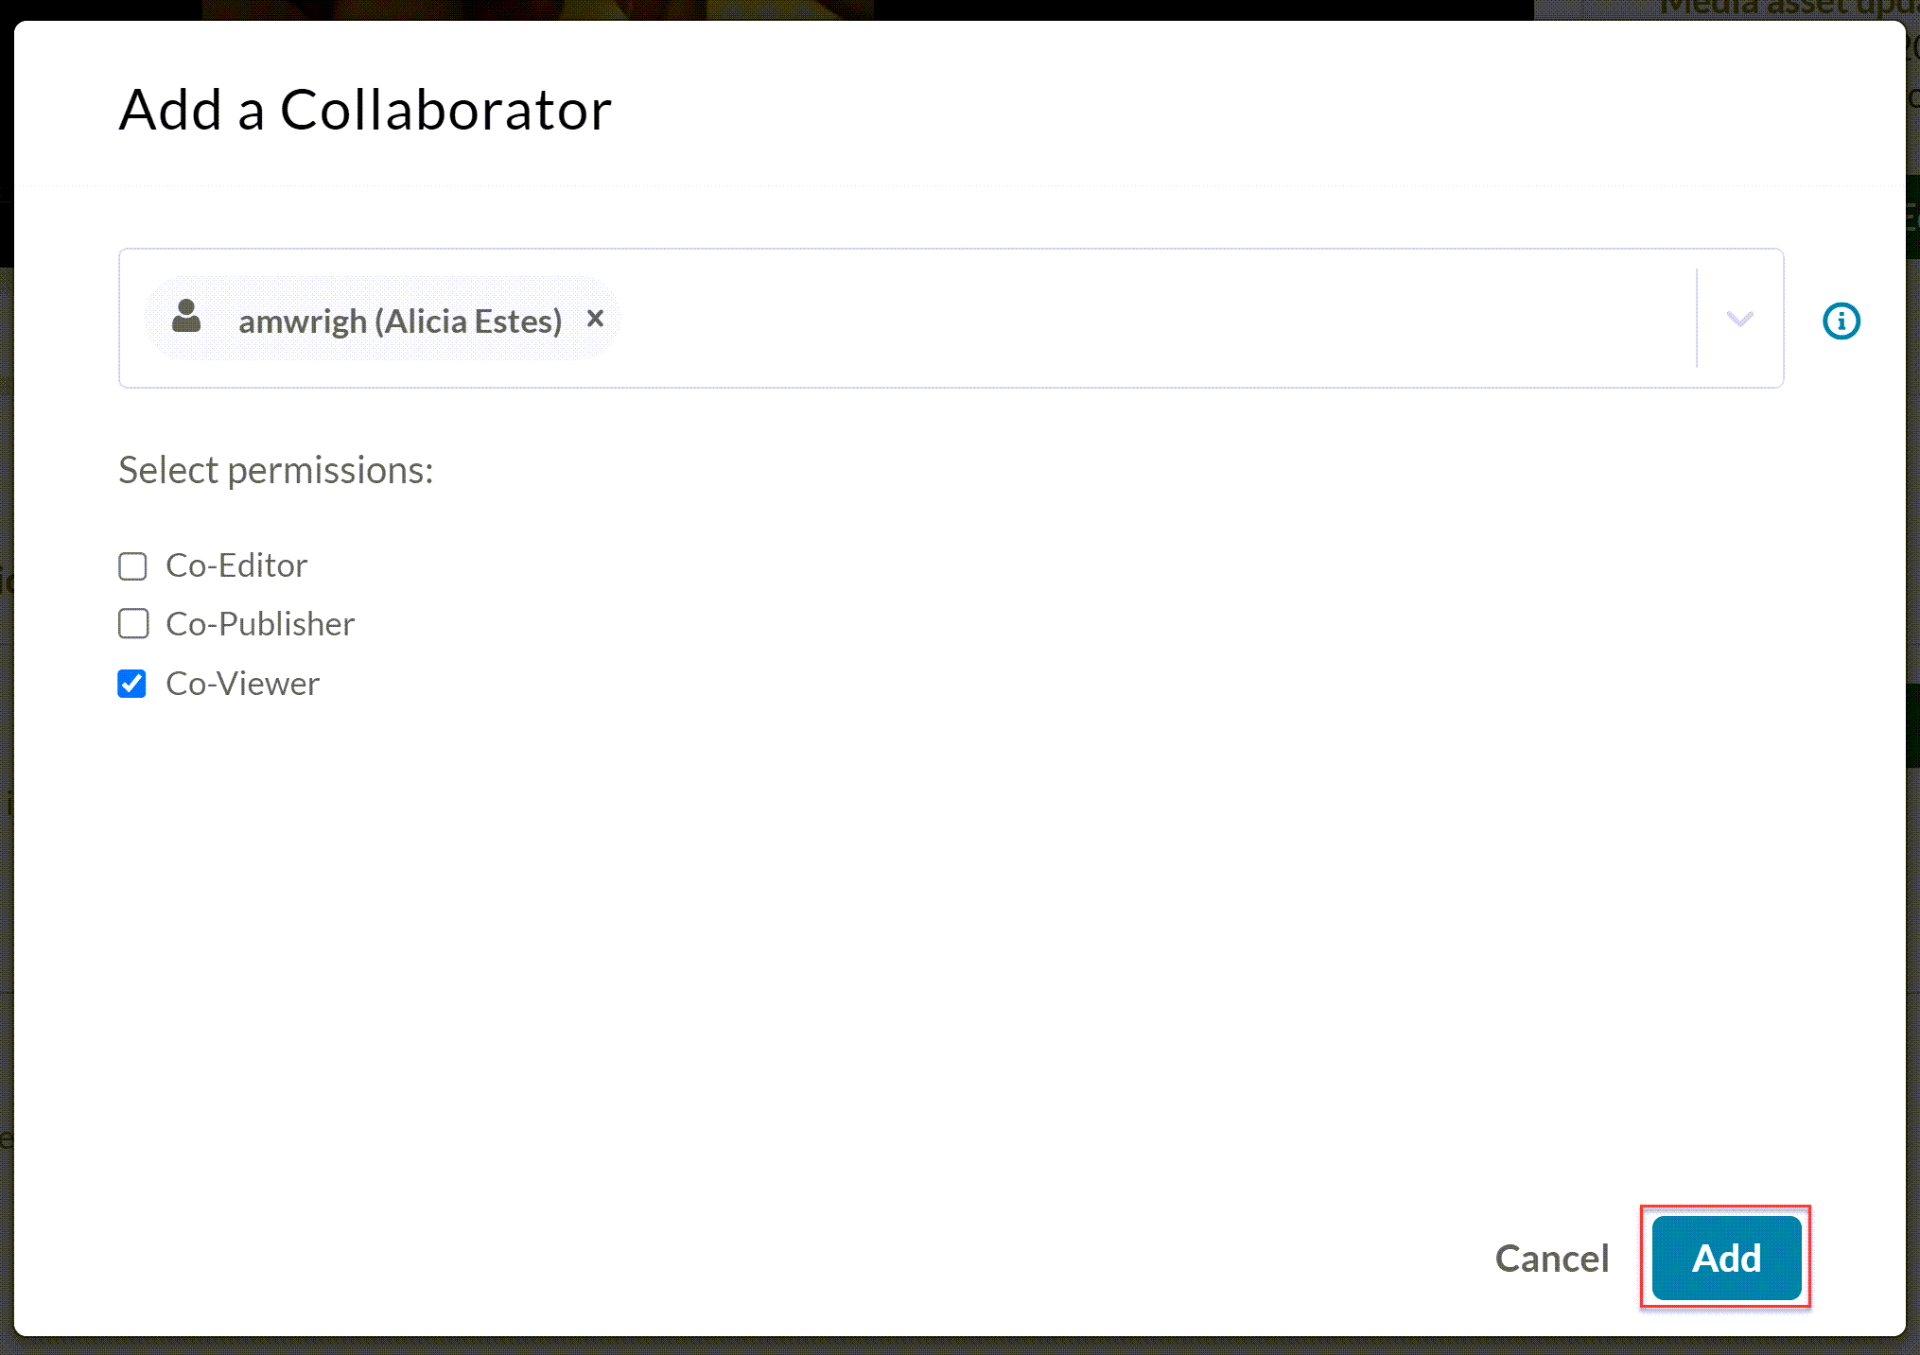
- If you need to delete someone, click the X to the right of their name. This will revoke access.
- The collaborators can access the videos by logging in to video.uark.edu and viewing their media.
Step 3: How to View a Shared Video
Here are instructions for co-viewers to access the shared videos:
- Go to video.uark.edu.
- Click on the person icon in the upper-right corner.

- Click Login.

- Log in with your UARK email and password.
- Click on the person icon in the upper-right corner.

- Click My Media.

- The video should appear in the list. If you cannot find it, you can filter by videos where you are a viewer.
Add Content and Videos to Conditionally Available Folders in Blackboard
You can also use release conditions in Blackboard to make content and videos available only to specific students. You will first need to create a folder that has an adaptive release rule for membership and add the content to that folder. You can also see who can view the folder by looking at “user progress.” This is ideal if you have different types of content to share with many students.
Step 1: Add your Content
For synchronous recordings:
- We recommend using Zoom to record your live synchronous/interactive sessions and the recordings will be sent to Kaltura.
- A note about synchronous/interactive class recordings: The recommended method for making synchronous sessions – those used for remote teaching – available to select students is to use Zoom to record because the recordings are automatically sent to Kaltura which allows for easy embedding and conditionally available in Blackboard. While it is possible to have conditionally available content that is recorded with Collaborate Ultra, it is a lot more difficult to achieve because these videos are automatically published to the course and allow for students to view the content as soon as it is available. You then need to download, delete, and upload to Kaltura. Because of this, we do not recommend using Collaborate Ultra for this purpose.
Asynchronous Recordings:
- For asynchronous recordings, there are two primary methods you can use.
- First, you can use whatever program is most familiar – we often recommend using VoiceOver PowerPoint as an easy option – and upload the recording to Kaltura.
- Second, you can record your lectures and content using Echo360, which is our lecture capture software. Here is more information about sharing Echo360 videos.
Files and other Content:
- For all other content (files, web links, etc), you can simply upload to the conditionally available folder as you would in other course areas.
Step 2: Create a Content Folder with Release Conditions
- Open your Blackboard Ultra course.
- Browse to the area in the course where you would like to add the recordings.
- Click on the Plus button.

- Click Create.

- Click Folder.
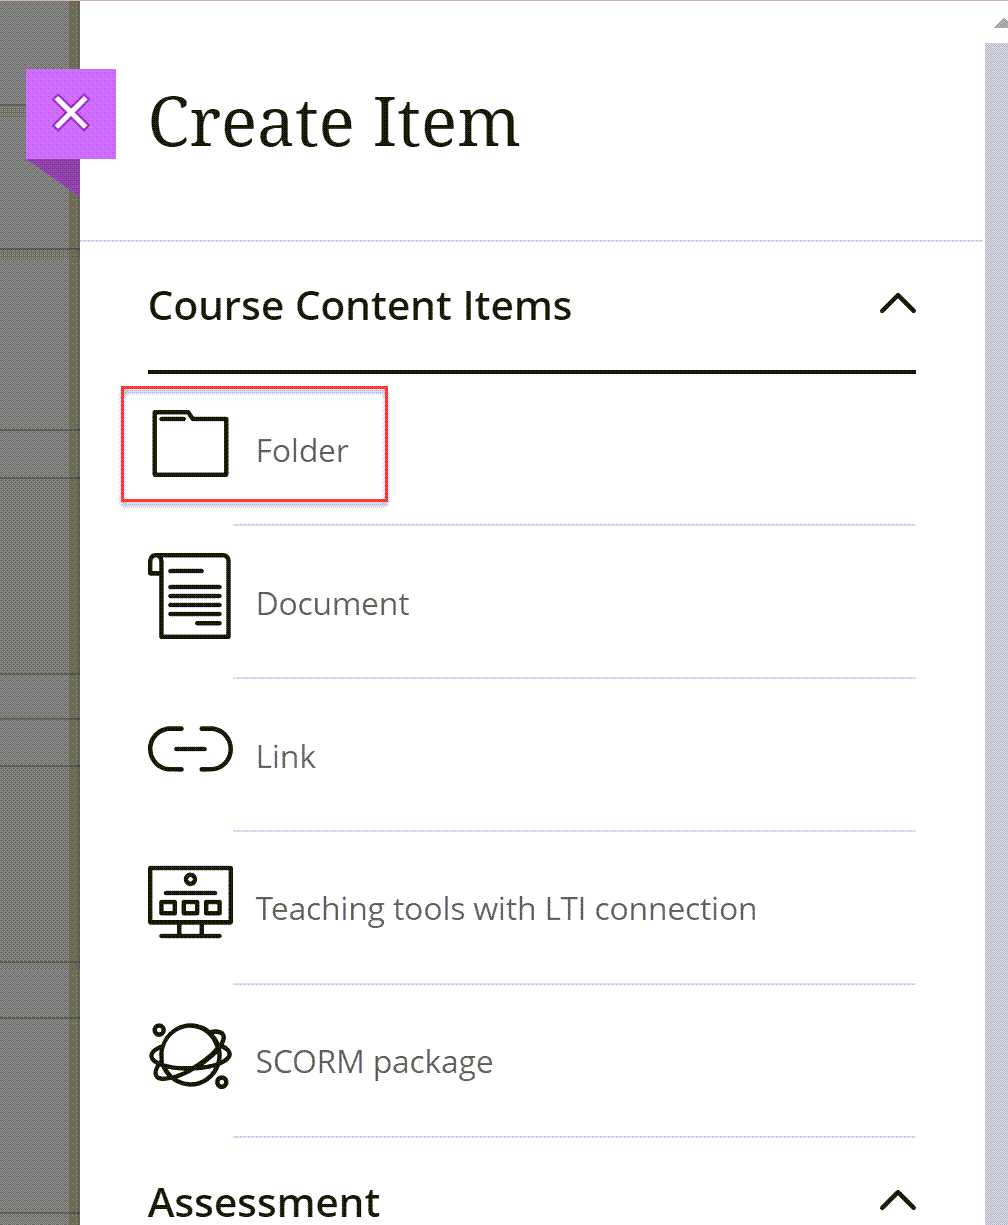
- Give your folder a name at the top.
- Click where it says Hidden from Students and click Release Conditions.

- Click Specific members or groups.
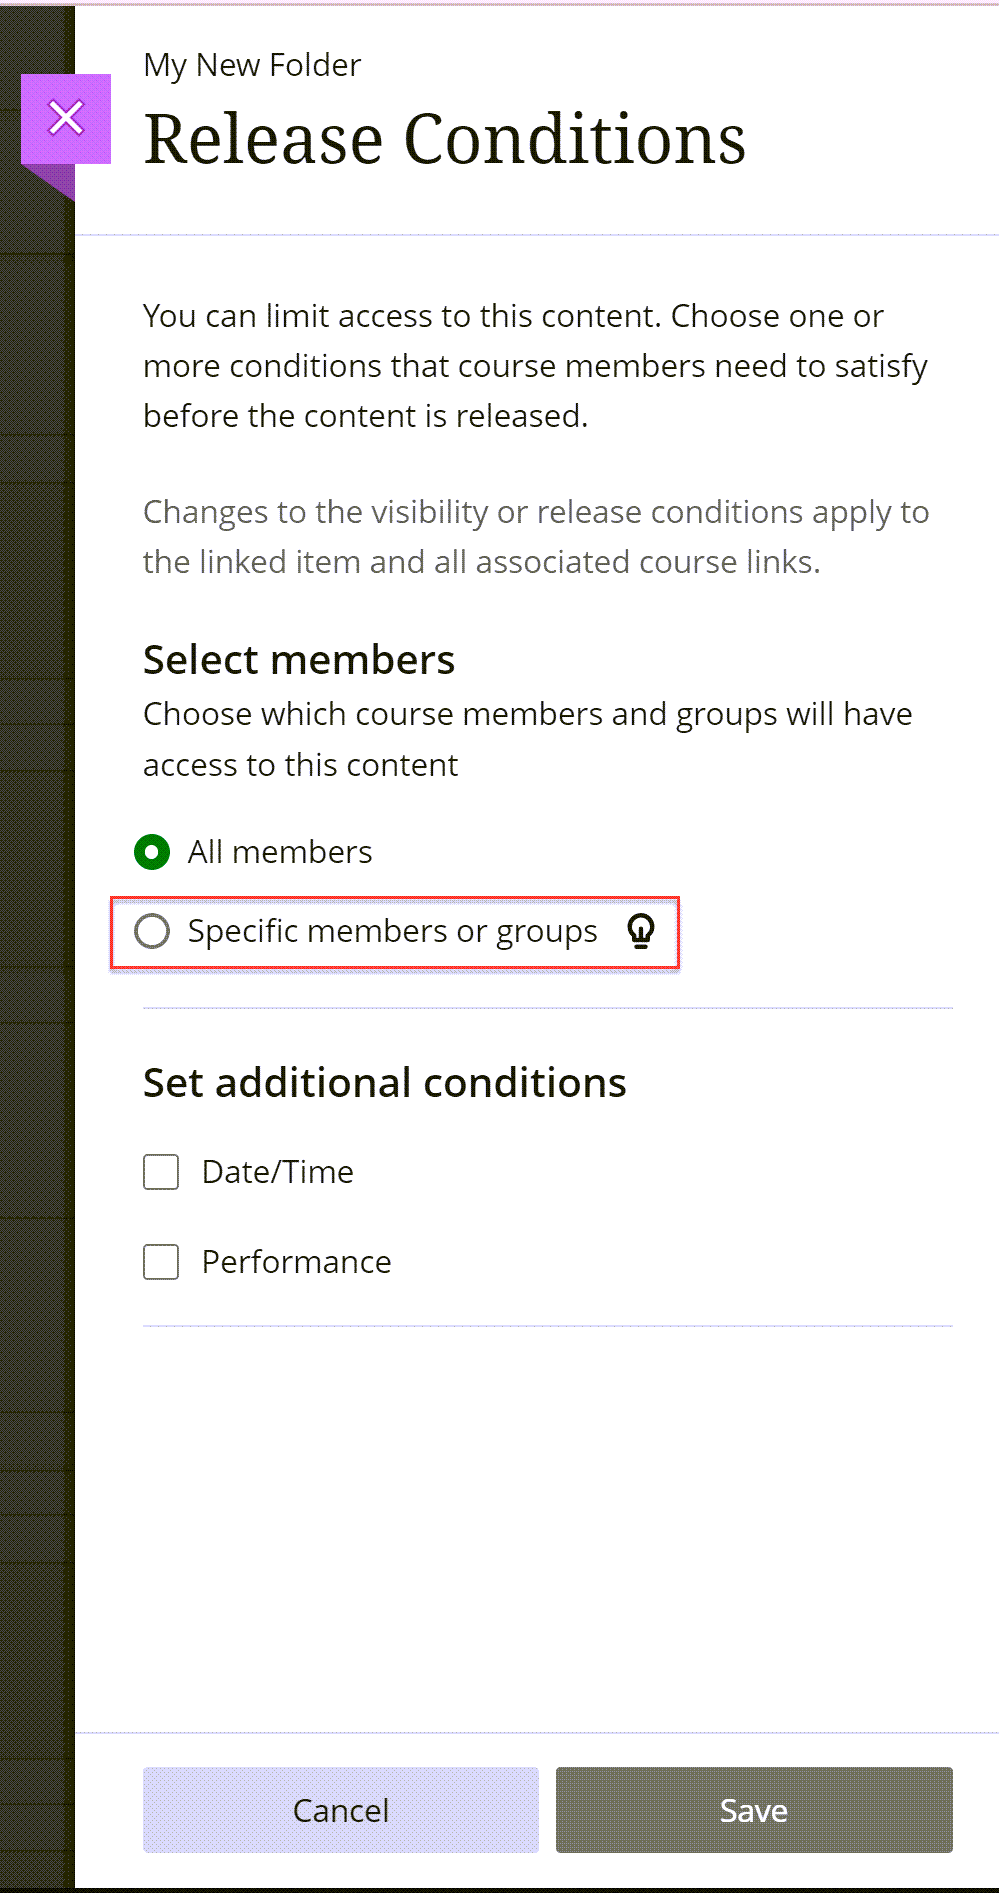
- Choose the members or groups from the drop-down to which you want to grant access.
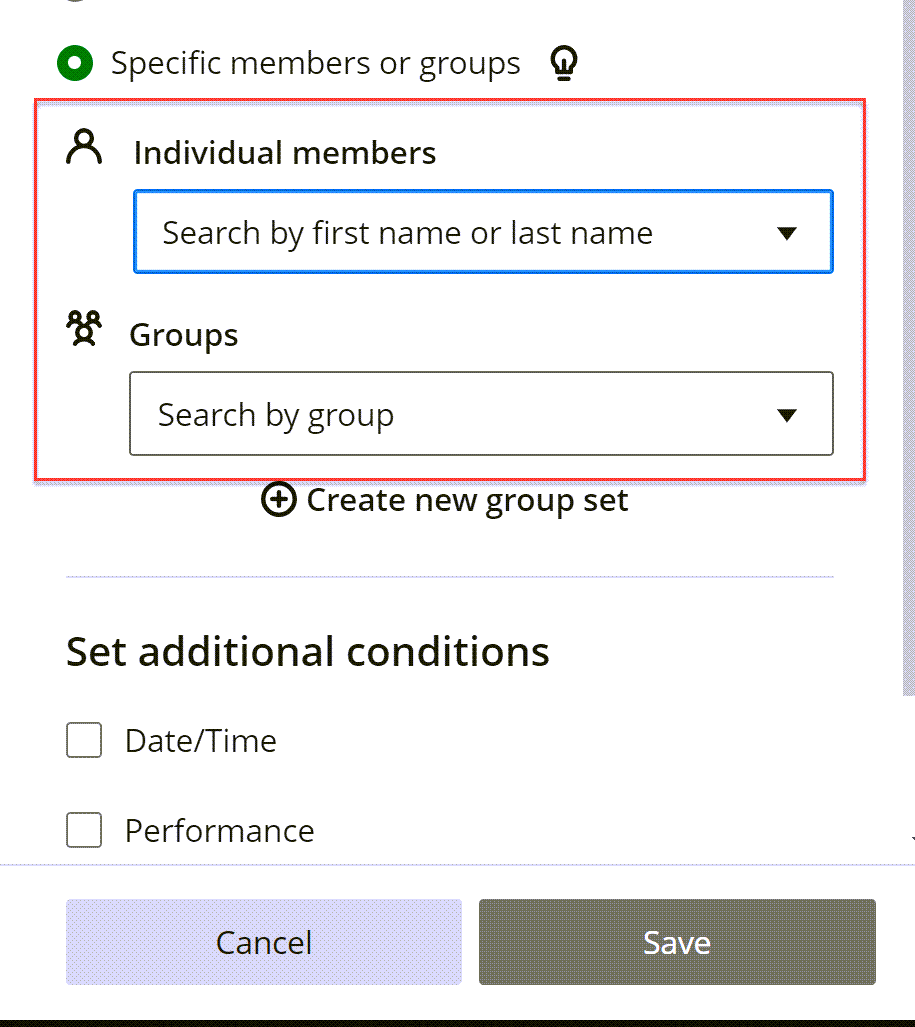
- Click Save.
Step 3: Check Which Users Can View the Folder
To see which students can view the folder
- Click Course Members next to the Release conditions for the folder.
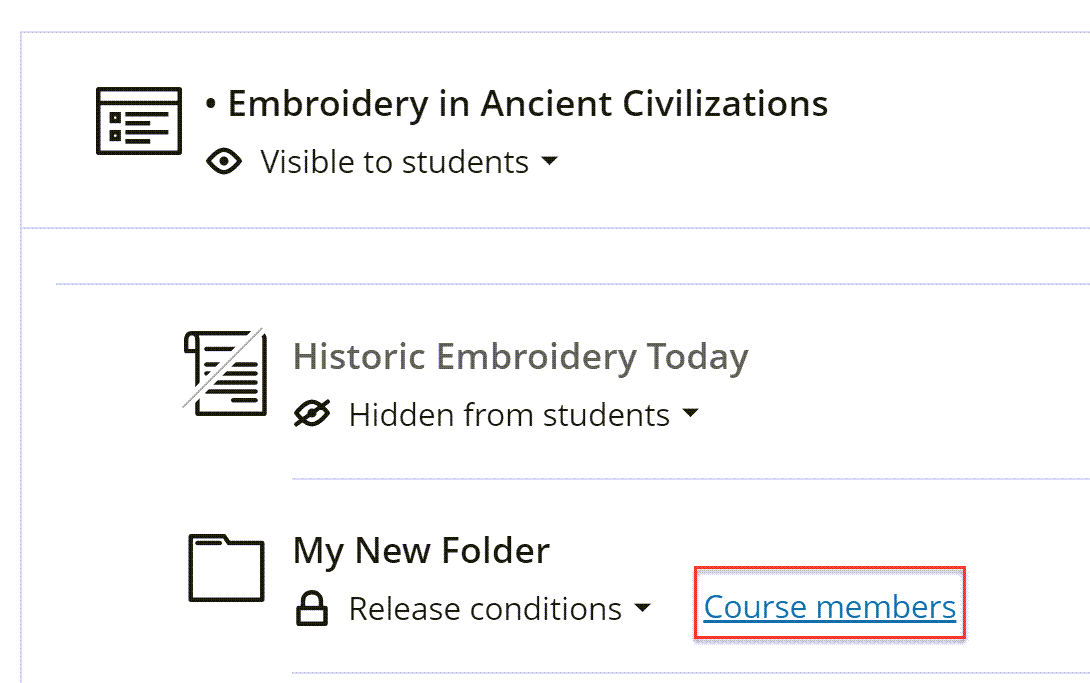
- This shows you who can see the content and who cannot. If there is a line through the eye, students cannot view the folder or its contents.
Step 4: Add the Content to the Folder
You can now add content to the folder.
For Echo360 videos, see the section on sharing videos with release conditions in this post.
For class recordings or videos in Kaltura:
- Upload your recordings to Kaltura if necessary.
- Go to your Blackboard Learn Ultra class.
- Click the name of the folder.
- Click the Plus sign.

- Click Content Market.

- Click Kaltura Media.

- Find the video you would like to add and click Embed.
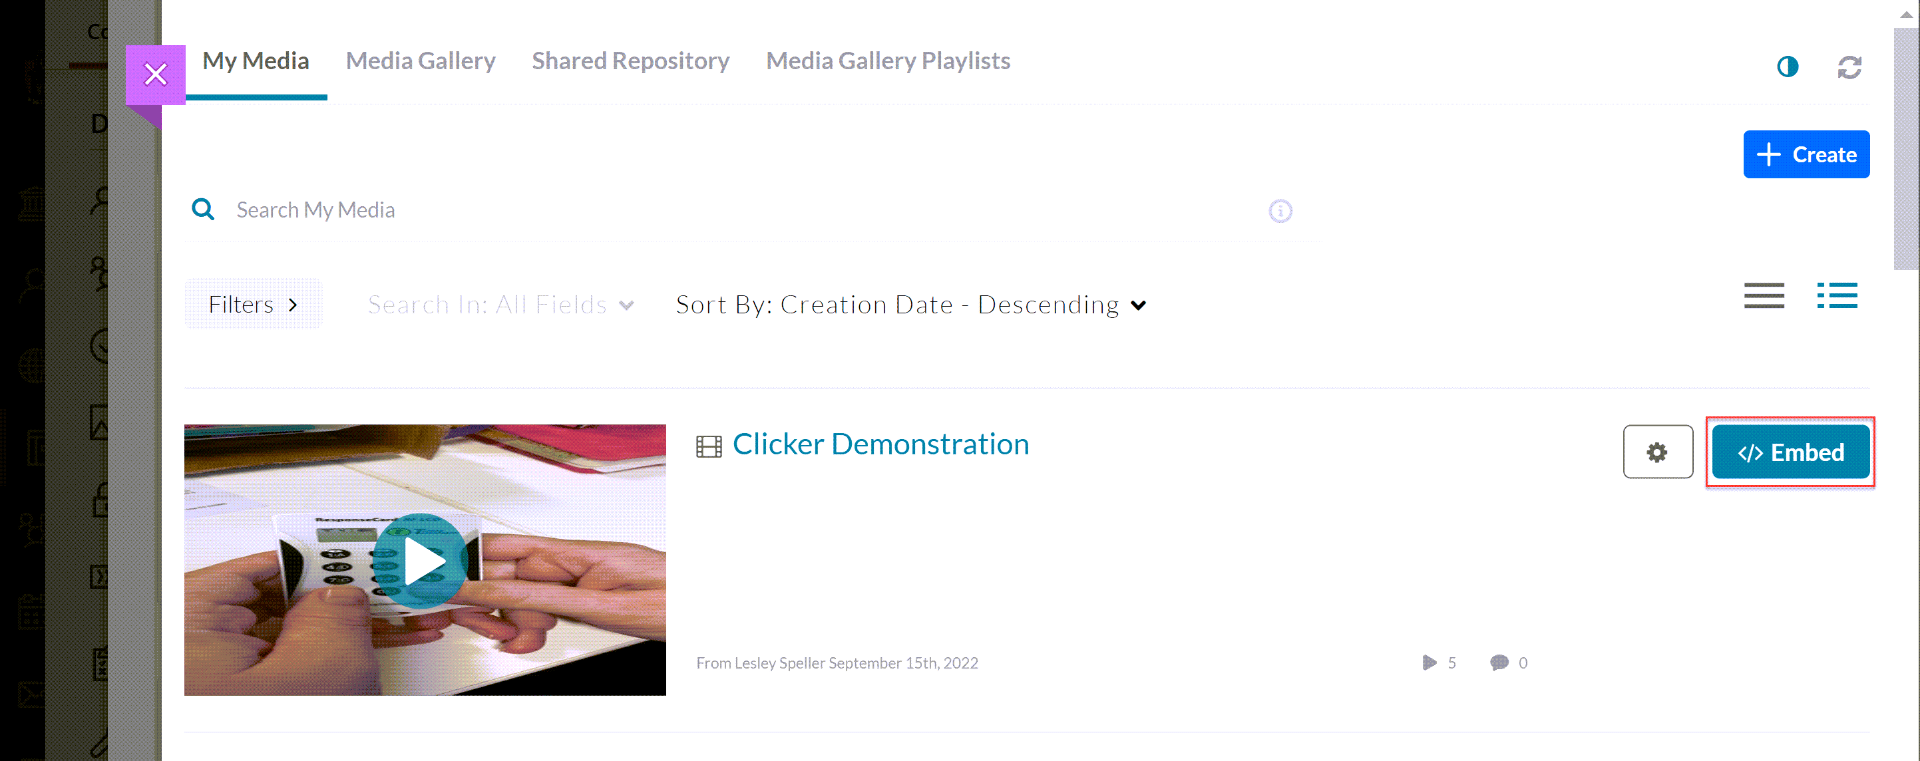
- Repeat for additional videos.
Note: We do not recommend uploading several videos to a single item. Each video should be created as its own content item to prevent errors and issues from occurring.